To sew a simple fabric phone case, start by choosing durable fabric and lining, then measure your phone adding an inch for seams. Cut two identical pieces, pin them right sides together, and sew around three sides, leaving the top open. Add padding between layers for protection, then attach your preferred closure like Velcro or snaps. Finish by turning it right side out and pressing seams flat. Keep going to discover tips on reinforcing corners and styling your case perfectly.
Key Takeaways
- Measure your phone’s dimensions and add 1-inch seam allowance to cut two identical fabric pieces.
- Pin fabric pieces right sides together and sew around three edges, leaving the top open.
- Turn the sewn fabric right side out and press seams flat for a neat finish.
- Add a simple closure like Velcro or a button by marking and sewing securely on the open edge.
- Optionally, include a thin padding layer between fabric pieces for extra protection before sewing.
Materials Needed for Your Fabric Phone Case
To make your fabric phone case, you’ll need a few key materials. First, choose a durable fabric like cotton, canvas, or denim to protect your phone.
You’ll also want a lining fabric, such as soft flannel or fleece, for added cushioning. Grab some matching thread to sew it all together neatly.
A sewing needle or a sewing machine will be essential, depending on your preference. Don’t forget scissors for cutting fabric, pins to hold pieces in place, and a ruler or measuring tape for accuracy.
Optional but helpful items include interfacing for extra structure and a zipper or button if you want closure. Having these materials ready will make your sewing process smooth and enjoyable.
Measuring and Cutting Your Fabric
First, you’ll need to choose fabric dimensions that fit your phone plus extra for seams.
Use a ruler to mark cutting lines clearly on the fabric.
Then, grab sharp scissors or a rotary cutter to guarantee precise cuts for a clean finish.
Choosing Fabric Dimensions
Although choosing the right fabric dimensions might seem straightforward, taking accurate measurements and cutting carefully guarantees your phone case fits perfectly.
Start by measuring your phone’s height, width, and depth. Add about 1 inch to the width and height for seam allowance and ease, ensuring your phone slides in comfortably. For depth, double the measurement plus an extra inch to accommodate the folded fabric forming the case’s pocket.
If you want a flap or extra padding, add dimensions accordingly. Once you have these numbers, cut two fabric pieces of identical size—one for the outer fabric and one for the lining.
Keeping your measurements precise helps your phone case look neat and professional. Remember, accurate fabric dimensions are the foundation for a great fit and smooth sewing process.
Marking Cutting Lines
After measuring and cutting your fabric pieces to the right dimensions, the next step is marking the cutting lines accurately.
Lay your fabric flat on a clean surface. Use a ruler or straight edge to guide your markings, ensuring straight and even lines. Choose a fabric marker, tailor’s chalk, or a pencil that shows clearly but won’t leave permanent marks.
Mark all edges where you’ll sew or fold, including seam allowances if needed. Take your time to double-check measurements before marking. Precise lines help you sew evenly and give your phone case a polished look.
Avoid drawing freehand without guides, as uneven lines can cause misaligned seams later. Clear, accurate markings make the sewing process smoother and improve your final product’s fit and finish.
Precision Cutting Tools
Choosing the right precision cutting tools makes measuring and cutting your fabric easier and more accurate.
Start with a sharp rotary cutter or fabric scissors designed specifically for fabric. These tools give you clean edges, preventing frayed or uneven cuts.
Use a clear acrylic ruler to guide your cuts and guarantee straight lines. A self-healing cutting mat protects your workspace and helps keep your measurements consistent.
Always double-check your measurements before cutting to avoid mistakes. Keep your blades sharp—dull blades can snag fabric and ruin your project.
When cutting, apply steady pressure and move slowly for the best results. With the right tools and careful technique, you’ll cut your fabric pieces perfectly, setting you up for a smooth sewing process.
Sewing the Phone Case Body
Before you start sewing, make sure your fabric pieces are properly aligned with the right sides facing each other.
Pin the edges to keep them from shifting as you sew. Using a straight stitch, sew around the sides and bottom of the case, leaving the top open so you can slide your phone in.
Secure edges with pins, then sew sides and bottom, leaving the top open for easy access.
Keep your seam allowance consistent, about ¼ inch, for a neat finish. Backstitch at the beginning and end to secure your stitches.
After sewing, trim any excess fabric close to the seam, but be careful not to cut too close and weaken it.
Turn the case right side out through the open top. Press the seams flat with an iron to give your phone case a crisp, polished look before moving on to the next step.
Adding Padding for Extra Protection
Once you’ve sewn and pressed the main body of your phone case, it’s time to focus on adding padding for extra protection.
Choose a thin layer of batting or foam, cut to the exact size of your fabric pieces. Lay the padding between the outer fabric and the lining before sewing them together. This additional layer cushions your phone from bumps and drops.
Pin the layers carefully to keep the padding from shifting as you sew. Use a straight stitch around the edges, leaving a small opening to turn the case right side out.
Once turned, topstitch close to the edge to secure all layers firmly. Adding padding is a simple step that greatly increases your phone case’s durability and protective qualities.
Creating and Attaching the Closure
Now it’s time to choose the best closure for your phone case, whether it’s a zipper, snap, or Velcro.
You’ll want to pick one that keeps your phone secure but is easy to open.
Once you decide, sew the closure firmly so it holds up with regular use.
Choosing Closure Types
Although choosing the right closure for your phone case might seem simple, it plays an essential role in both functionality and style. You want a closure that keeps your phone secure yet easy to access. Consider options like snaps, Velcro, buttons, magnets, or elastic bands. Each offers a different balance of convenience and aesthetic.
| Closure Type | Ease of Use | Style Options |
|---|---|---|
| Snap | Moderate | Classic, sturdy |
| Velcro | Easy | Casual, adjustable |
| Button | Moderate | Decorative, vintage |
| Magnet | Very Easy | Sleek, modern |
| Elastic Band | Easy | Simple, flexible |
Think about how often you’ll open your case and what look you prefer before deciding.
Sewing Closure Securely
Before you attach the closure, make certain you’ve chosen the right spot and marked it clearly on your fabric. This guarantees your closure aligns properly and functions smoothly.
If you’re using snaps, position both parts carefully, then press or sew them on securely. For Velcro, cut small pieces and stitch all around to prevent fraying and guarantee durability.
If you prefer buttons, sew them firmly, reinforcing the thread with several stitches. When attaching a zipper, pin it evenly along the edge, then sew slowly to keep it straight. Remember to backstitch at the start and end for extra strength.
Taking your time here helps your phone case close securely, protecting your device and giving it a polished, professional look.
Final Touches and Styling Tips
Once you’ve sewn the main structure of your phone case, it’s time to add the final touches that make it both functional and stylish. Consider adding embellishments like buttons, patches, or fabric paint to personalize your case. You can also topstitch around the edges for durability and a polished look. Don’t forget to test the closure to guarantee your phone stays secure.
| Tip | Purpose | Example |
|---|---|---|
| Topstitch Edges | Strengthen seams | Using contrasting thread |
| Add a Pocket | Extra storage | Small card or cash |
| Use Decorative Closures | Style & security | Buttons, snaps, velcro |
| Embellish Fabric | Personal flair | Iron-on patches |
| Reinforce Corners | Prevent wear | Extra stitches or fabric |
These simple steps elevate your handmade phone case effortlessly.
Frequently Asked Questions
Can I Use a Sewing Machine Instead of Hand Sewing?
Of course, you could hand sew forever, but why? You’ll save time and effort using a sewing machine. It’s faster, neater, and perfect for beginners. Just set it up, and stitch away confidently!
How Do I Clean or Wash the Finished Phone Case?
You can gently hand wash your fabric phone case in cold water with mild detergent. Avoid harsh scrubbing or machine washing to keep the fabric intact. Let it air dry completely before using it again.
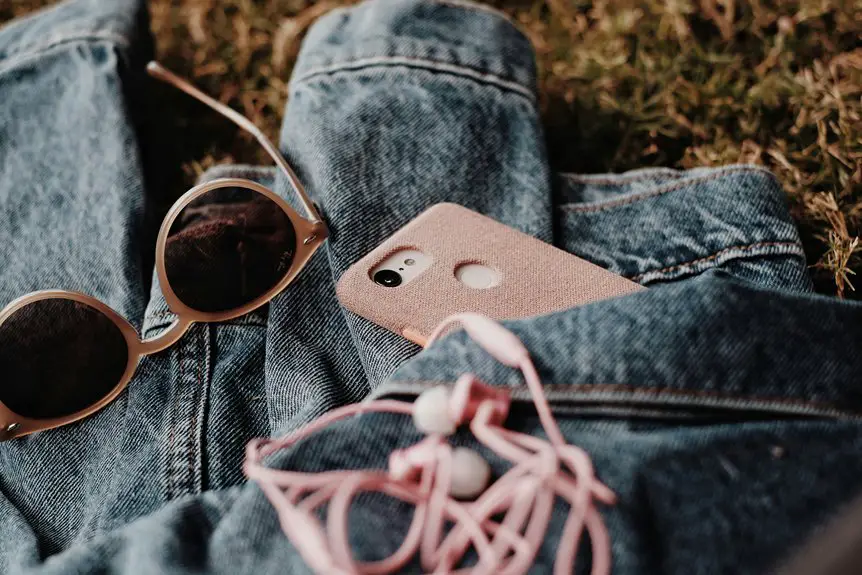
What Fabric Types Work Best for a Durable Phone Case?
Did you know 80% of phone cases fail within a year? You’ll want durable fabrics like canvas, denim, or upholstery fabric—they’re tough, wear-resistant, and protect your phone well. Avoid flimsy cotton or silk for lasting use.
Can I Customize the Phone Case Size for Different Devices?
You can definitely customize the phone case size to fit any device. Just measure your phone’s dimensions, add seam allowances, and adjust your fabric pieces accordingly before sewing for a perfect, personalized fit every time.
How Long Does It Typically Take to Sew One Phone Case?
You’ll typically spend about 30 to 60 minutes sewing one phone case, depending on your skill level and the design complexity. As you get more comfortable, you’ll finish faster and enjoy the process even more!