Want to take your woodworking projects to the next level? Learn how to decoupage fabric onto wood and watch your creations come to life!
This technique adds a touch of elegance and uniqueness to your wooden pieces, making them real showstoppers.
With the right materials and a bit of know-how, you can master the art of decoupaging fabric onto wood.
So, let's get ready to transform plain wood into stunning works of art!
Key Takeaways
- Preparing the wood surface is essential for a smooth and durable finish for decoupage.
- Choosing a lightweight and tightly woven fabric that complements the wood is important for a successful decoupage project.
- Properly sizing and cutting the fabric to fit the wood surface is crucial for a clean and professional look.
- Applying a thin, even layer of fabric adhesive and decoupage glue is necessary for good adhesion and a finished appearance.
Essential Materials and Tools
You'll need to gather up all the essential materials and tools before you get started on decoupaging fabric onto wood. The materials you'll need include fabric, wood, decoupage glue, foam brushes, scissors, and sandpaper. For the fabric, choose a lightweight one without a heavy texture for easier application. When it comes to wood, opt for a smooth, sanded surface to ensure the fabric adheres well.
Decoupage glue is essential for both adhering the fabric to the wood and sealing it afterward. Foam brushes work best for applying the glue evenly, and scissors will help you cut the fabric to the desired shape and size. Lastly, sandpaper will be necessary for smoothing out any rough edges on the wood and ensuring a clean, finished look.
In terms of technique, the key to success lies in applying the decoupage glue evenly and smoothly onto the wood before carefully laying the fabric over it. Once the fabric is in place, another layer of decoupage glue should be applied on top to seal and protect the fabric.
With the right materials and tools in hand, you're well-equipped to begin the decoupage process.
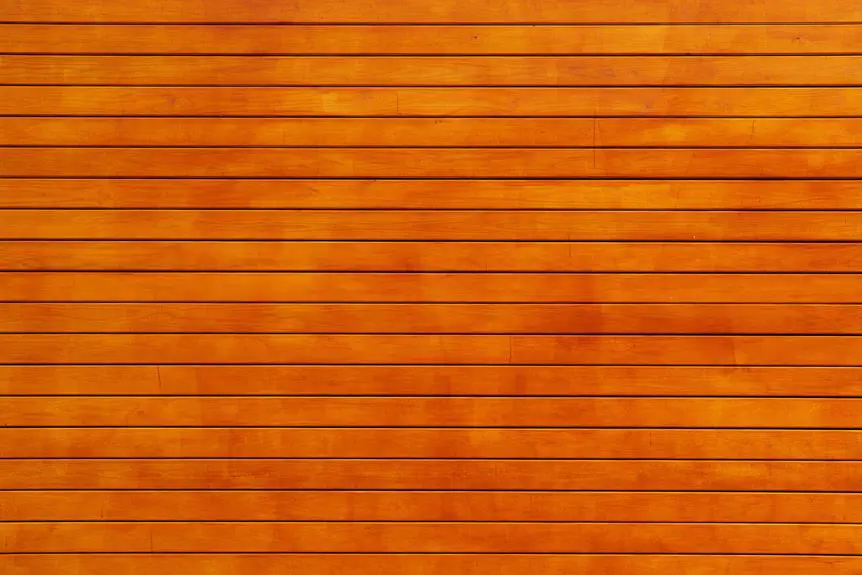
Preparing the Wood Surface
After gathering all the essential materials and tools for decoupaging fabric onto wood, it is important to begin by preparing the wood surface for the application of the fabric. This step is crucial to ensure a smooth and durable finish for your decoupage project. The two key aspects of preparing the wood surface are sanding the wood and sealing the edges.
Wood Surface Preparation
| Step | Description | Emotion |
|---|---|---|
| Sanding the Wood | Use fine-grit sandpaper to smooth the wood surface, creating a perfect base for the fabric application. | Precision |
| Sealing the Edges | Apply a thin layer of wood sealer to the edges of the wood to prevent fraying and ensure a clean finish. | Assurance |
Selecting and Preparing Fabric
When decoupaging fabric onto wood, the first step is selecting the right fabric for your project. Consider the type and quality of fabric you want to use, as well as how it will complement the wood and the overall aesthetic you're aiming for.
Once you've chosen your fabric, it's important to properly size and cut it to fit the wood surface you'll be working with.
Fabric Type and Quality
To ensure successful decoupage, start by choosing a fabric that's lightweight and tightly woven. When considering fabric type and quality for decoupaging onto wood, the choice between silk and cotton is crucial. Silk is elegant and adds a luxurious touch, while cotton is durable and easier to work with. Both fabrics can produce stunning results, so consider the look and feel you want to achieve.
Additionally, the pattern selection is important. A small, intricate pattern can be visually stunning but may be challenging to work with, while a larger pattern may be easier to align but could appear less detailed. Ultimately, the fabric type and pattern should complement the wood and the overall aesthetic you want to achieve.
Proper Sizing and Cutting
Once you've chosen and acquired your fabric, start by laying it flat on a clean, smooth surface. This will help you to work with it easily and ensure accurate sizing and cutting.
When it comes to sizing techniques, consider using a ruler or measuring tape to determine the dimensions you need for your wood surface. Be precise in your measurements to avoid any mistakes during the decoupage process.
As for cutting tools, a pair of sharp fabric scissors is essential for clean and accurate cuts. Make sure to use a cutting mat to protect your work surface and to provide a stable base for cutting.
Take your time with sizing and cutting to ensure that your fabric fits perfectly onto the wood surface for a professional-looking decoupage project.
Applying Fabric to Wood
You will need a clean, smooth piece of wood for applying the fabric. Before you start, ensure that the wood surface is free from any dirt, dust, or rough spots.
Here's how to apply fabric to wood:
- Choose the Right Adhesive: Select a high-quality fabric adhesive that's suitable for wood. Alternatively, you can use a mixture of water and white glue, or Mod Podge for a decoupage effect.
- Prepare the Wood Surface: Sand the wood surface lightly to create a slightly rough texture, which will help the fabric adhere better. Wipe the wood clean to remove any dust from sanding.
- Apply the Adhesive: Use a foam brush to apply a thin, even layer of fabric adhesive to the wood surface. Ensure that the entire area where the fabric will be placed is covered.
- Smoothly Place the Fabric: Carefully lay the fabric onto the wood, smoothing it out to remove any air bubbles or wrinkles. Press the fabric down firmly to ensure good adhesion.
With these steps, you can effectively apply fabric to wood, creating beautiful decoupage pieces or unique wooden fabric art.
Finishing and Sealing the Decoupage
After smoothing the fabric onto the wood, seal the decoupage by applying a thin, even layer of decoupage glue or clear varnish over the fabric. Both options will provide a protective coating and enhance the appearance of your decoupage. Decoupage glue is specifically designed for this craft, offering a strong bond and a glossy finish. On the other hand, clear varnish provides a durable and water-resistant seal. Whichever option you choose, ensure that the layer is applied evenly to avoid drips or streaks that could mar the final look.
Once the initial sealing layer has dried, consider applying one or two additional coats for added protection and longevity. This will help safeguard the fabric and wood from wear and tear, ensuring long term durability.
When the sealing process is complete, it's important to maintain your decoupaged piece by regularly dusting it with a soft cloth to prevent the buildup of dirt and grime. Additionally, avoid using harsh chemicals or abrasives when cleaning to preserve the finish.
Displaying and Caring for Your Decoupaged Piece
To properly display and care for your decoupaged piece, consider placing it in a well-lit area away from direct sunlight and regularly dusting it with a soft cloth to maintain its appearance.
Here are some tips for caring for and displaying your decoupaged piece:
- Avoid Direct Sunlight: Direct sunlight can cause the colors in your decoupaged piece to fade over time. Keep it in a well-lit area, but away from direct sunlight to preserve its vibrancy.
- Regular Dusting: Dust can accumulate on the surface of your decoupaged piece, dulling its appearance. Gently dust it with a soft cloth on a regular basis to keep it looking fresh and clean.
- Avoid Moisture: Excessive moisture can damage the adhesive and the wood underneath the decoupage. Avoid displaying your piece in areas prone to high humidity or moisture.
- Use Gentle Handling: When moving or repositioning your decoupaged piece, handle it with care to prevent any tears or damage to the fabric and the wood underneath.
Frequently Asked Questions
Can I Use Any Type of Fabric for Decoupage Onto Wood, or Are There Specific Types That Work Best?
For decoupaging fabric onto wood, not all types of fabric work well. Look for lightweight, tightly woven fabrics like cotton or linen. They adhere better and result in a smoother finish. These are the best practices.
Is It Necessary to Sand the Wood Surface Before Applying the Fabric, and if So, What Grit of Sandpaper Should I Use?
Before applying the fabric, sand the wood surface to ensure proper adhesion. Use a medium-grit sandpaper, around 120-150 grit, to create a smooth and clean surface. This will help the fabric adhere properly. Choose a proper adhesive for decoupage.
How Can I Prevent Air Bubbles From Forming When Applying the Fabric to the Wood Surface?
To prevent air bubbles when applying fabric to wood, smooth out the fabric as you go. Use a fabric that's not too thick or stretchy. Ensure the wood surface is clean and dry before applying the fabric.
Can I Decoupage Fabric Onto a Curved or Irregularly-Shaped Wood Piece, or Does It Work Best on Flat Surfaces?
Yes, you can decoupage fabric onto curved surfaces. When dealing with irregular shapes, it's best to use a technique called "stretch and glue," which involves gently stretching the fabric as you apply it to ensure a smooth finish.
What Is the Best Way to Clean and Maintain a Decoupaged Fabric Piece to Ensure Its Longevity?
To maintain the longevity of your decoupaged fabric piece, gently dust it with a soft cloth or brush to remove any surface dirt. Avoid using harsh chemicals or abrasive materials, as they can damage the fabric. Regular cleaning will keep your piece looking fresh and vibrant.