When you're ready to enhance your fabric projects, using stencils for printing can be a straightforward yet effective technique. You'll want to start by choosing the right design and ensuring your fabric is properly prepped for the best results. Securing your stencil is crucial to avoiding any mishaps during application, and knowing how to manage your paint can make all the difference. But, as with any creative process, there are nuances that can affect your final outcome—let's explore some key tips that could elevate your fabric stenciling experience.
Key Takeaways
- Select stencils that match your fabric design and size for a cohesive look and effective impact.
- Prepare your fabric by washing, drying, and ironing it to ensure a smooth printing surface.
- Secure your fabric and stencil using painter's tape to prevent shifting during the painting process.
- Use appropriate painting techniques, such as sponge dabbing or brush application, to achieve desired effects.
Selecting the Right Stencils
When selecting the right stencils for fabric printing, consider the design and size that best fits your project. You'll want a design that complements your fabric and the overall aesthetic you're aiming for. Whether you're going for a bold pattern or something more intricate, keeping your project in mind will help narrow down your options.
Next, think about the size of the stencil. A larger design can make a dramatic impact, but it may not work well on smaller items like T-shirts or bags. Conversely, smaller stencils can be perfect for detailed work on smaller fabrics but might get lost on larger surfaces. Measure your fabric and visualize how the design will look before making a choice.
Don't forget about the stencil material. You might prefer flexible plastic for ease of use or thicker materials for more durability. Each option can affect the precision of your print, so choose wisely.
Materials Needed for Printing
To get started with fabric printing using stencils, gather essential materials like fabric paint, brushes, and a suitable fabric surface. Choose fabric paint specifically designed for textiles, as it'll adhere better and last longer after washing. You'll need a variety of brushes: a flat brush for broad strokes and a fine-tipped brush for details.
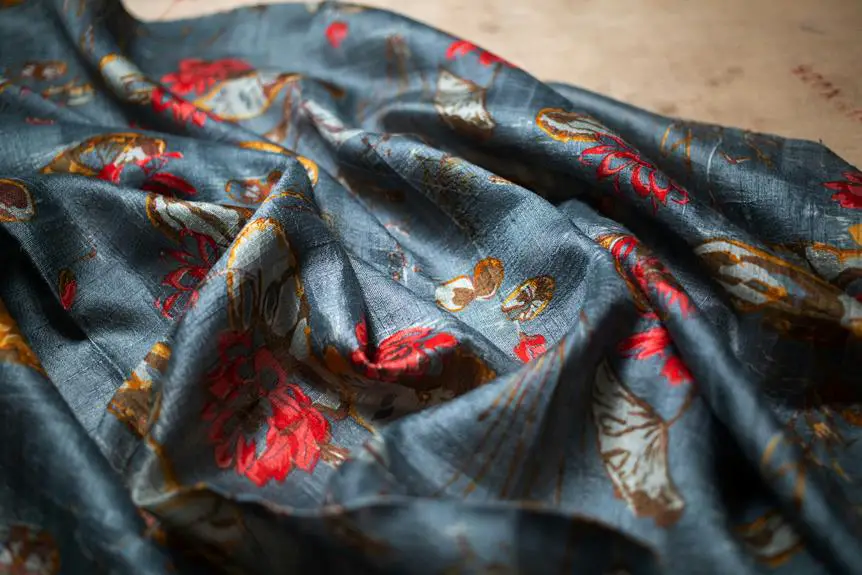
Next, select your fabric surface. Cotton, canvas, and linen work great, but make sure it's clean and free from wrinkles. You might want to use a piece of cardboard or plastic underneath the fabric to prevent bleed-through.
Don't forget your stencils! Whether you buy them or make your own, ensure they're sturdy enough to hold up during the painting process. You might also want to grab painter's tape to secure the stencil in place while you work.
Lastly, consider gloves to keep your hands clean and an apron to protect your clothes. With these materials in hand, you're ready to unleash your creativity and start printing beautiful designs onto fabric.
Preparing Your Fabric
Properly preparing your fabric ensures that your designs turn out crisp and vibrant.
Start by washing your fabric to remove any sizing or chemicals that might interfere with the printing process. Use a mild detergent and avoid fabric softeners, as they can leave a residue that affects adhesion. After washing, dry your fabric thoroughly—either air drying or using a dryer, depending on the fabric type.
Next, iron your fabric to eliminate any wrinkles. Wrinkles can distort your design, so take your time to ensure it's smooth. If you're working with a fabric that tends to fray, consider using a zigzag stitch or fray check along the edges to keep it neat.
Once your fabric is clean and smooth, lay it flat on a stable surface. Use masking tape or pins to secure it in place, preventing shifting during the printing process.
If you're using a natural fabric, you might want to pre-test your stencil with a small amount of paint to see how it interacts with the material. Following these steps will ensure your fabric is primed and ready for stunning stencil designs.
Printing Techniques to Try
With your fabric prepared, it's time to explore various printing techniques that can elevate your stencil designs.
One popular method is sponge painting. Simply dip a sponge into fabric paint and dab it over the stencil. This technique creates a soft, textured look that can add depth to your design.
Another option is using a spray paint technique. Position your stencil onto the fabric and spray paint over it, keeping the spray can a few inches away for an even application. This method works well for larger stencils and can achieve a bold, graphic appearance.
If you prefer a more controlled approach, try using a brush. Load a paintbrush with fabric paint and carefully apply it through the stencil openings. This technique allows for precise detailing and is perfect for intricate designs.
You might also experiment with layering colors. Start with a base color, let it dry, and then apply a second color through the same stencil or a different one. This adds complexity and visual interest to your fabric project.
Each of these techniques can help you create unique and stunning fabric prints that showcase your creativity.
Tips for Successful Stenciling
Ensuring a clean, flat surface for your stencil will help prevent any unwanted smudges or misalignments during the printing process. Start by choosing a sturdy base, like a cutting mat or a piece of cardboard, to stabilize your fabric. Secure your stencil with painter's tape to avoid shifting while you work.
When applying paint, use a dab or sponge technique instead of brushing it on. This prevents excess paint from seeping underneath the stencil edges. Make sure to use fabric paint designed for your material, as it adheres better and maintains flexibility after drying.
Keep a paper towel or rag handy to quickly clean any mistakes. If you're layering colors, ensure each layer dries completely before adding the next. This helps maintain crisp lines and prevents smudging.
Frequently Asked Questions
Can I Use Stencils on Different Types of Fabric?
Yes, you can use stencils on various fabric types! Just ensure you choose the right paint and technique for each material. Experimenting a bit will help you achieve the best results on different fabrics.
How Do I Clean Stencils After Use?
To clean stencils after use, you'll want to rinse them with warm water immediately. If paint residue remains, use mild soap and a soft brush. Always let them dry completely before storing for future use.
What Should I Do if the Paint Bleeds Under the Stencil?
If the paint bleeds under your stencil, you should try using less paint on your brush and applying it more gently. Also, ensure the stencil lies flat against the surface to prevent gaps.
Can I Reuse Stencils Multiple Times?
Yes, you can reuse stencils multiple times! Just make sure to clean them properly after each use. If they're made from durable material, they'll last longer and maintain their shape for consistent results.
Are There Specific Paints Recommended for Fabric Stenciling?
Yes, for fabric stenciling, you'll want to use fabric paints or acrylic paints mixed with a fabric medium. These ensure vibrant colors and durability, so your designs stay sharp and last through washes.