When you're looking to add a personal touch to your fabrics, stenciling can be a practical and rewarding choice. You'll want to start by selecting the right fabric and gathering essential supplies, ensuring you set a solid foundation for your project. As you consider your designs, think about how different techniques can elevate your creations. Whether you're aiming for subtle elegance or bold statements, the possibilities can be quite intriguing. But before you dive in, there are some critical steps to ensure your results are as impressive as you envision.
Key Takeaways
- Select appropriate fabrics like cotton or canvas for optimal paint adhesion and durability in stenciling projects.
- Use high-quality fabric paint and reusable stencils to ensure vibrant, long-lasting designs.
- Prepare the fabric by pre-washing and ironing to achieve a smooth surface for stenciling.
- Apply paint in thin layers using a dabbing technique to prevent bleeding and ensure clean lines.
Choosing the Right Fabrics
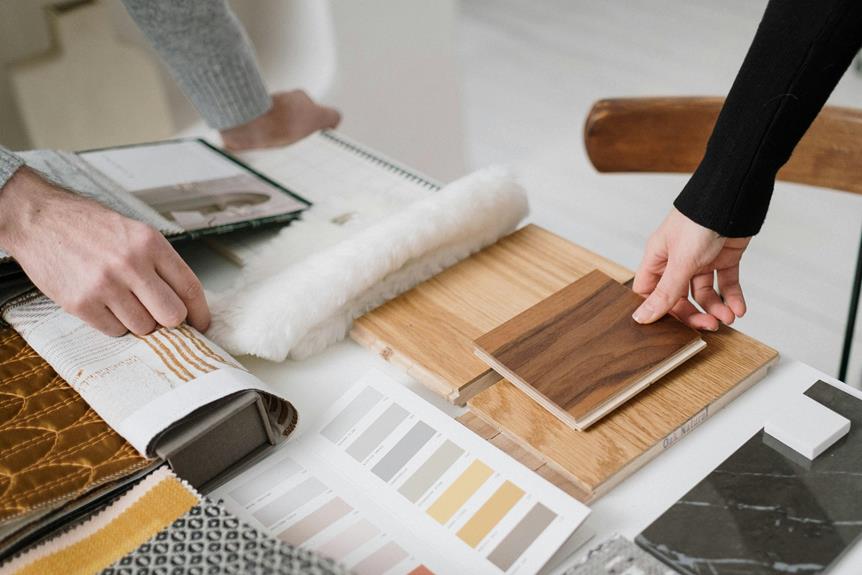
When choosing fabrics for stenciling, opt for materials that hold paint well and can withstand washing. Cotton is a fantastic choice; it absorbs paint beautifully and remains durable through multiple washes.
Look for canvas or denim if you want something heavier; these fabrics not only provide a sturdy base but also add texture to your designs.
Avoid using slippery or synthetic materials like polyester, as they can repel paint and lead to uneven stenciling results. If you're considering a fabric blend, ensure that cotton is a significant component; it'll help maintain paint adhesion.
Before you start stenciling, test your paint on a small fabric swatch. This way, you can see how the paint interacts with the fabric and whether it achieves the desired look.
If you're working on items like bags or clothing, consider pre-washing the fabric to remove any finishes that may hinder paint absorption.
Lastly, be mindful of fabric weight; lighter fabrics may wrinkle or shift during stenciling, while heavier ones can provide a more stable surface.
Selecting the right fabric sets the foundation for your creative project.
Essential Stenciling Supplies
To achieve stunning results in your fabric stenciling projects, you'll need to gather a few key supplies that ensure smooth application and vibrant designs. Here's a quick list to help you get started:
| Supply | Purpose | Notes |
|---|---|---|
| Stencils | Create designs on fabric | Choose reusable ones |
| Fabric paint | Add color to your fabric | Use fabric-specific paint |
| Brush or sponge | Apply paint evenly | Foam brushes work well |
| Painter's tape | Secure stencil in place | Prevents paint bleed |
Having these essentials on hand will make your stenciling experience enjoyable and efficient. If you're working with intricate designs, consider using a finer brush for detail work. Always test your paint on a scrap piece of fabric first to ensure the colors turn out as you expect. With the right supplies, you'll be well on your way to creating personalized fabric pieces that showcase your unique style! Happy stenciling!
Designing Your Stencil
Designing your stencil involves selecting a pattern that reflects your personal style and complements the fabric you're working with. Start by brainstorming ideas that resonate with you, whether it's floral motifs, geometric shapes, or whimsical designs.
Consider the scale of your pattern; larger designs can make a bold statement, while smaller patterns create subtle elegance.
Once you've chosen a theme, sketch out your ideas on paper or use design software for a more polished look. Pay attention to the balance and flow of your design, ensuring it works harmoniously with the fabric's texture and color. If you're new to stenciling, simpler designs might be more manageable.
After finalizing your design, you'll need to decide on the materials for your stencil. You can use plastic sheets, cardboard, or even specialized stencil paper, depending on the complexity of your design and how many times you plan to use it.
Remember to create clean, crisp lines for the best results. Finally, don't forget to think about the colors you want to use; they should enhance your design while working well with the fabric.
With careful planning, your stencil will truly showcase your unique style.
Preparing Your Fabric
Before you start stenciling, you need to prepare your fabric properly.
Choosing the right type of fabric, washing it beforehand, and ironing it for a smooth surface are crucial steps that'll ensure your design turns out beautifully.
Let's explore these important preparation points to get you on the right track.
Selecting Suitable Fabrics
Choosing the right fabric is essential for achieving the best results when you're stenciling. The texture and weight of the fabric can significantly impact the outcome of your design. Opt for cotton or canvas for a smooth surface that holds ink well. These fabrics absorb paint nicely, allowing for crisp, clear stencils.
If you're working with stretch fabrics like spandex, be cautious. They can warp your design, making it difficult to achieve clean lines. Instead, consider using a stabilizer to keep the fabric taut while you work.
For home décor projects, heavier fabrics like upholstery can add a sophisticated touch, but remember that they might require special paint for proper adhesion.
When selecting your fabric, also think about the project's purpose. If it's a wearable item, ensure the fabric is comfortable and breathable. For items that'll see heavy use, like tote bags, durability is key. Look for fabrics that are easy to clean, as stenciled designs can sometimes need touch-ups.
Pre-Washing Considerations
Pre-washing your fabric is crucial to remove any chemicals, sizing, or dirt that could interfere with the stenciling process. These substances can prevent your paint or ink from adhering properly, leading to unsatisfactory results.
Before you start, read the care label on your fabric. This will guide you on the appropriate washing method, including water temperature and detergent type. When you wash your fabric, use a mild detergent and avoid fabric softeners, as they can leave a residue that might impact the stenciling.
If you're working with a new fabric, consider using a gentle cycle to prevent any damage while still getting rid of unwanted substances. Allow the fabric to air dry completely before you begin stenciling; this ensures any lingering moisture won't affect your project.
If your fabric is prone to shrinking, it's wise to pre-shrink it, as this will help maintain the size and shape of your final piece. By taking the time to pre-wash, you're setting yourself up for success and ensuring that your stenciling project will turn out beautifully.
Ironing for Smoothness
To achieve the best results with your stenciling, make sure your fabric is completely smooth and wrinkle-free by ironing it thoroughly.
Start by setting your iron to the appropriate temperature for your fabric type. If you're unsure, a medium heat usually works well for most materials.
Before you begin ironing, lay your fabric flat on a clean, smooth surface. If you notice any stubborn wrinkles, lightly spritz them with water to help release the creases.
As you iron, use even pressure and glide the iron in straight lines, avoiding circular motions to prevent stretching the fabric.
Pay special attention to the edges and corners, as these areas can be prone to wrinkles. If you're working with a larger piece of fabric, consider ironing it in sections to ensure every part is smooth.
Once you're done, let the fabric cool for a moment to set the smoothness.
Applying the Stencil Technique
Mastering the stencil technique opens up a world of creativity for personalizing your fabrics. To get started, lay your fabric flat on a clean, stable surface. Secure the stencil in place using painter's tape to prevent any shifting. Make sure it's positioned exactly where you want your design to appear.
Next, choose the paint or ink you want to use. Fabric paint works best, as it's designed to adhere well and withstand washing. Using a sponge or a stencil brush, lightly dab the paint onto the stencil. Avoid overloading your applicator; it's better to apply multiple thin layers than one thick layer, which can cause bleeding.
Once you've applied the paint, carefully lift the stencil straight up to reveal your design. Don't rush this step; taking your time ensures clean edges. If you notice any mistakes, you can touch them up with a fine brush once the paint dries.
Caring for Your Stenciled Fabrics
After you've successfully stenciled your fabric, knowing how to care for it will help maintain the design's vibrancy and longevity. Proper care ensures your hard work doesn't fade or wear away too quickly. Here are some essential tips to keep your stenciled fabrics looking fresh:
- Wash gently: Always wash your stenciled items in cold water on a gentle cycle to prevent any damage to the design.
- Avoid bleach: Steer clear of bleach and harsh detergents, as they can discolor or deteriorate the paint.
- Turn inside out: When washing, turn your fabric inside out to protect the stenciled side from friction.
- Air dry: Opt for air drying instead of using a dryer; heat can cause the paint to crack or fade.
Frequently Asked Questions
Can I Use Stenciling on Stretchy Fabrics Like Spandex?
Yes, you can use stenciling on stretchy fabrics like spandex. Just make sure to choose the right fabric paint, apply it carefully, and allow for some stretch so the design holds up without cracking.
How Do I Remove a Stencil From Fabric Without Damage?
To remove a stencil from fabric without damage, gently peel it away while the paint's still wet. If it's dry, carefully lift a corner and use heat or a damp cloth to loosen it.
Are There Specific Paints for Outdoor Fabric Stenciling?
Yes, there are specific paints designed for outdoor fabric stenciling. Look for weather-resistant fabric paints or acrylics that are labeled as suitable for outdoor use. They'll help your designs withstand the elements longer.
Can I Create My Own Stencil Designs?
Absolutely, you can create your own stencil designs! Just sketch your ideas on paper, then transfer them to a sturdy material like cardstock or plastic. Cut out the shapes carefully, and you're ready to stencil!
How Do I Fix Mistakes Made While Stenciling?
If you make mistakes while stenciling, don't panic! You can carefully remove excess paint with a damp cloth or touch up edges with a fine brush. Practice patience, and your project will still shine beautifully.