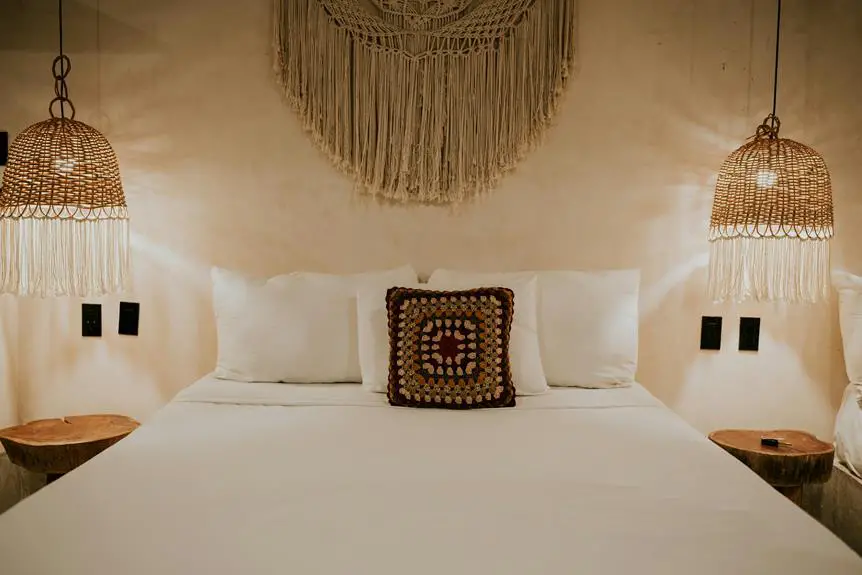
When you think about personalizing your home decor, stenciling decorative pillows might not be the first idea that comes to mind, but it's a simple yet effective way to add a unique touch. You'll want to start by choosing the right fabric and stencil design that reflects your style. As you gather your materials and prepare your workspace, you'll discover various techniques that can enhance your final result. But before you grab that paintbrush, consider what kind of look you want to achieve and how it can transform your space…
Key Takeaways
- Choose smooth, durable fabric like cotton or canvas for clean stenciling and longevity of decorative pillows.
- Select stencils that match your pillow size and desired design style for visual appeal.
- Set up a well-lit, flat workspace and organize your materials for a smooth stenciling process.
- Use sponge or brush techniques for paint application, experimenting with layering stencils for depth.
Choosing Your Pillow Fabric
When choosing your pillow fabric, consider how the texture and durability will enhance your stenciling project. The right fabric can make all the difference in how your stenciled design turns out.
Opt for a fabric that has a smooth surface, like cotton or linen, which allows for clean lines and crisp edges when you apply your stencil. Fabrics with a tight weave are also ideal, as they prevent paint from bleeding through.
Additionally, think about the durability of the fabric. If your pillows will see a lot of use, like on a couch or outdoor seating, choose a material that's tough and can withstand wear and tear. Canvas or duck cloth can be great choices for their sturdiness.
Don't forget about the fabric's color and pattern, either. A solid color will make your stenciled design pop, while a subtle pattern might add an interesting backdrop.
Ultimately, selecting the right fabric won't only enhance your stenciling results but also ensure your decorative pillows stand the test of time. So take the time to choose wisely, and your project will be all the more rewarding.
Selecting Stencils and Designs
After you've chosen the right fabric for your pillows, it's time to explore selecting stencils and designs that will complement your vision.
Start by considering the overall style of your space. Do you want something modern, vintage, or whimsical? Your choice of stencil should reflect that aesthetic.
Next, think about the size of the stencil in relation to your pillow. Larger designs can make a bold statement, while smaller stencils can create a more subtle effect. Don't forget to consider the color scheme, too! You can either match the fabric colors or opt for contrasting shades to make the design pop.
Once you have a theme in mind, browse through various stencil options. Look for designs that resonate with you, whether it's floral patterns, geometric shapes, or inspirational quotes. You can even create a custom stencil if you have a specific design in mind.
Lastly, gather inspiration from platforms like Pinterest or Instagram. Visualizing how different stencils will look on your pillows can help solidify your choice, ensuring you'll create a beautiful and cohesive look that enhances your decor.
Materials You'll Need
To successfully stencil decorative pillows, you'll need a few essential materials that make the process smooth and enjoyable.
First, grab your fabric paint, which comes in various colors and finishes. Choose a paint that's suitable for fabric to ensure durability and washability.
Next, pick up some stencils; these can be made from plastic or cardboard. Ensure they're the right size for your pillows.
You'll also need a few tools: a stencil brush or sponge, which helps apply the paint evenly without over-saturating the fabric. A palette or plate will be useful for pouring out your paint.
Don't forget painter's tape to secure the stencil in place and prevent any slipping while you work.
Lastly, gather some old rags or paper towels for quick clean-ups, and consider using a drop cloth to protect your workspace from any accidental spills.
With these materials on hand, you're well on your way to creating beautiful, personalized decorative pillows that brighten up your space!
Preparing Your Workspace
Set up your workspace by choosing a flat, well-lit area where you can comfortably stencil your pillows without distractions. It's essential to have enough space to lay out your materials and move freely while you work. Consider using a table or desk that's at a comfortable height to avoid strain during your project.
Next, gather your materials and organize them in a way that makes sense for your workflow. Keep your stencils, paints, brushes, and pillows easily accessible. This minimizes interruptions and keeps you focused on stenciling. Here's a quick overview of workspace ideas:
| Workspace Element | Purpose |
|---|---|
| Flat Surface | Provides stability for stenciling |
| Good Lighting | Enhances visibility for detail work |
| Storage Bins | Keeps materials organized and within reach |
| Protective Covering | Shields your workspace from paint spills |
Stenciling Techniques to Try
Exploring various stenciling techniques can elevate your decorative pillows and add a personal touch to your home decor.
One popular method is the sponge technique, where you use a sponge to dab paint through the stencil. This creates a soft, textured look that's visually appealing. If you want cleaner lines, try the brush technique. Load a stencil brush with paint, then lightly tap it over the stencil for precise designs.
For a bold effect, consider layering stencils. Start with a base design, let it dry, and then add another layer in a contrasting color. This adds depth and complexity to your pillows. You can also experiment with fabric paint markers for finer details; they allow for intricate designs while maintaining control.
Don't forget about the placement of your stencils! Centering your design is classic, but off-center placements can create a modern look. Lastly, try using multiple stencils in one project to build a cohesive theme.
With these techniques, you'll discover endless possibilities for creating unique and stunning decorative pillows that reflect your style. Get creative, and enjoy the process!
Caring for Your Finished Pillows
Now that you've created your beautiful stenciled pillows, you'll want to keep them looking great.
Understanding the best washing instructions, drying techniques, and storing guidelines will help maintain their charm.
Let's explore how to properly care for your finished pillows so they last for years to come.
Washing Instructions
To keep your stenciled decorative pillows looking fresh, follow these simple washing instructions. Proper care ensures your hard work remains vibrant and intact for years to come.
- Spot Clean: For minor stains, use a damp cloth and mild soap. Avoid scrubbing too hard to prevent damaging the stencil design. Gently dab the area until the stain lifts.
- Hand Wash: When it's time for a deeper clean, fill a basin with cold water and a gentle detergent. Submerge your pillows and gently agitate the water. Rinse thoroughly to remove all soap residue, as leftover detergent can affect the fabric and paint.
- Machine Wash (if necessary): If your pillow covers are removable and machine washable, place them inside a mesh laundry bag. Use a gentle cycle with cold water, and avoid bleach or harsh detergents. This helps maintain the integrity of the stencil while keeping your pillows clean.
Drying Techniques
After washing your stenciled decorative pillows, it's important to use the right drying techniques to preserve their appearance and longevity.
Start by gently shaking each pillow to fluff up the fabric and remove any excess water. Avoid wringing or twisting the pillows, as this can distort their shape and damage the stenciled design.
If you have space, air-drying is the best option. Lay the pillows flat on a clean, dry towel in a well-ventilated area, turning them occasionally to ensure even drying. If you're short on time, you can hang them on a clothesline or a drying rack, but make sure they're out of direct sunlight to prevent fading.
Using a dryer is another option, but be cautious. If you choose this route, set the dryer on a low heat setting to minimize any risk of shrinkage or damage to your stencil. Remove the pillows promptly once they're dry to avoid wrinkles.
Always check the care label for any specific drying instructions. By following these techniques, you'll keep your decorative pillows looking fresh and vibrant for years to come.
Storing Guidelines
How can you properly store your finished stenciled pillows to maintain their beauty and shape? Proper storage is essential to ensure your pillows remain in top condition for years to come. Here are some guidelines to follow:
- Clean and Dry: Before storing, make sure your pillows are clean and completely dry. This helps prevent mildew and odors from developing.
- Use Breathable Storage: Opt for breathable storage bags or cotton pillowcases. Avoid plastic, as it can trap moisture and lead to mold.
- Flat or Upright: If possible, store your pillows flat to maintain their shape. If space is limited, you can stack them upright, but be sure to keep them supported to prevent crushing.
Frequently Asked Questions
Can I Use Stencils on Other Home Decor Items?
Absolutely, you can use stencils on various home decor items! From walls to furniture, stenciling adds a personalized touch. Just ensure you choose appropriate materials and paint for the best results. Get creative!
How Do I Fix Mistakes While Stenciling?
If you make mistakes while stenciling, don't panic. You can gently wipe away wet paint with a damp cloth, or carefully touch up with a small brush. Practice patience, and your project will shine!
Can I Wash Stenciled Pillows in a Washing Machine?
Yes, you can wash stenciled pillows in a washing machine, but it's best to use a gentle cycle and cold water. Always check the fabric care label to ensure the stencils won't fade or smudge.
What Types of Paint Work Best for Fabric Stenciling?
For fabric stenciling, you'll want to use fabric paint or acrylic paint mixed with a fabric medium. These options ensure your designs remain vibrant and withstand washing, giving your projects durability and a professional finish.
How Long Does the Stenciled Paint Take to Dry?
The stenciled paint usually takes about 1 to 2 hours to dry to the touch. However, for optimal durability, you should wait 24 hours before using or washing the fabric. Patience pays off!