Using fabric weights effectively can make a significant difference in your sewing projects, particularly when it comes to preventing creasing. You'll want to start by strategically placing the weights along the edges and seams of your fabric, ensuring stability without distorting the material. It's crucial to choose the right type of weights and position them correctly for the best results. But how you implement these strategies could be the key to achieving that smooth finish you're after. Let's explore the nuances that can elevate your sewing experience.
Key Takeaways
- Place fabric weights along edges and seams to effectively prevent creasing during cutting and sewing.
- Distribute weights every 12 to 18 inches on longer edges for even tension and stability.
- Anchor corners with weights to keep fabric flat and reduce the risk of wrinkles.
- Use weights with non-slip surfaces to ensure they stay in place while working.
Understanding Fabric Weights
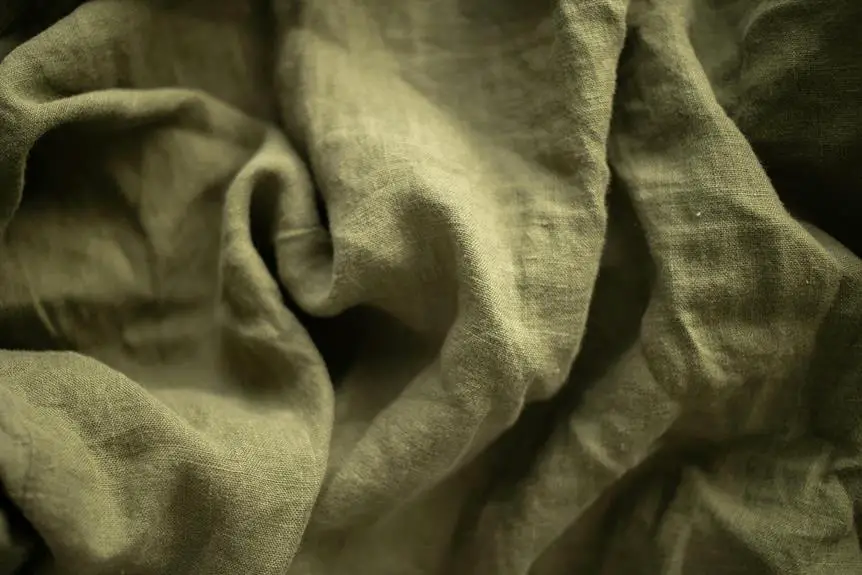
Fabric weights are essential tools that help you maintain a smooth, crease-free finish when working with various textiles. These handy accessories come in different shapes, sizes, and materials, allowing you to choose the right ones for your specific projects. By applying weight to your fabric, you can prevent it from shifting, sliding, or puckering during cutting, sewing, or pressing.
When you use fabric weights, you're not just making your life easier; you're also ensuring better accuracy in your work. Whether you opt for traditional weights, like metal or glass, or prefer alternatives like sandbags or even homemade options, each type serves the same purpose: keeping your fabric in place.
Understanding how fabric weights function is crucial. They create downward pressure, stabilizing your fabric and helping to eliminate those pesky creases that can ruin your finished piece. By strategically placing these weights around your fabric, you'll notice a significant improvement in your sewing results.
The right application of fabric weights can enhance your workflow, saving you time and frustration. So, as you dive into your next sewing project, don't underestimate the power of these simple yet effective tools.
Choosing the Right Fabric Weights
Selecting the right fabric weights can significantly enhance your sewing experience and improve the quality of your finished projects. When choosing fabric weights, consider the type and thickness of your fabric. Heavier fabrics like denim or canvas may require more substantial weights to prevent lifting and shifting, while lighter fabrics like chiffon or silk can benefit from lighter options.
You'll also want to think about the shape and size of your weights. Flat weights are ideal for larger pieces, as they cover more surface area, while smaller, round weights work well for intricate patterns or curves. Look for weights with a non-slip surface to keep them in place while you work.
Additionally, consider the material of your weights. Options range from traditional metal or plastic to more modern materials like glass or ceramic. Each has its benefits; for instance, glass weights can be visually appealing, while metal weights are often more durable.
Ultimately, the right fabric weights should feel comfortable in your hands and suit your sewing style. Experimenting with different types will help you find the perfect fit for your projects.
Proper Placement Techniques
To effectively prevent creasing, place your fabric weights strategically along the edges and seams of your project.
Start by identifying the areas where the fabric is most likely to shift or lift, such as corners or curves. Position a weight at each corner to anchor the fabric down, ensuring it stays flat. For longer edges, distribute weights evenly, placing them approximately every 12 to 18 inches to maintain tension across the entire length.
When working with seams, place weights directly on the seam lines. This helps keep the fabric aligned and prevents any unwanted movement during cutting or sewing. If you're layering fabrics, make sure to apply weights to all layers, not just the top one. This ensures that everything stays in place, reducing the chances of creases forming.
Be mindful of the fabric type as well. Heavier fabrics may require more weights to hold them securely, while lightweight fabrics might need fewer. Adjust your weight placement based on the fabric's behavior, and always check for any folds or wrinkles before you start sewing.
Proper placement techniques make a significant difference in achieving a smooth and professional finish.
Tips for Effective Use
Incorporating a few practical tips can enhance your effectiveness when using fabric weights to keep creasing at bay. When you follow these guidelines, you'll notice a significant improvement in your sewing projects.
Choose the Right Weight: Select weights that are appropriate for your fabric type. Heavier fabrics need more substantial weights to prevent slipping.
Distribute Evenly: Place your weights at regular intervals across the fabric to ensure even tension. This prevents areas from curling or lifting, giving you smooth results.
Use Non-Slip Materials: Opt for fabric weights with a non-slip bottom. This prevents them from sliding off your fabric, ensuring they stay put while you work.
Don't Overload: While it's tempting to use multiple weights for extra security, too many can create unwanted pressure that may lead to distortion. Less is often more!
Maintenance and Care of Weights
Proper maintenance of your fabric weights ensures they remain effective and last for years, so it's essential to clean and store them correctly.
Start by regularly wiping down your weights with a damp cloth to remove dust and fabric residue. If they get particularly dirty, use a mild soap solution, but avoid soaking them, as this can damage the material.
After cleaning, dry your weights thoroughly to prevent any moisture buildup, which could lead to rust or mildew, especially if they're metal.
When it comes to storage, keep your weights in a cool, dry place away from direct sunlight. This prevents any warping or fading over time.
It's also a good idea to check your weights periodically for any signs of wear or damage. If you notice any cracks, chips, or rust spots, consider replacing them to maintain their effectiveness.
Frequently Asked Questions
Can Fabric Weights Be Used on All Types of Fabrics?
Yes, fabric weights can be used on most types of fabrics, but you should test them on delicate materials first. Some fabrics may require lighter weights to avoid damage or distortion during your projects.
How Do Fabric Weights Differ From Traditional Pins?
Fabric weights provide a stable hold on your fabric, allowing it to lie flat without piercing it, unlike traditional pins which can create holes and distort fabric. You'll find weights easier for delicate materials.
Are Fabric Weights Safe for Delicate Fabrics?
Yes, fabric weights are generally safe for delicate fabrics, but you should always test a small area first. They help keep your fabric in place without damaging it, unlike traditional pins that might leave holes.
Can I Make DIY Fabric Weights at Home?
Absolutely, you can make DIY fabric weights at home! Just fill small bags with rice, beans, or sand, and sew or tie them closed. They'll work great for keeping your fabrics in place while you sew.
How Long Should I Leave Fabric Weights in Place?
You should leave fabric weights in place for at least 15 to 30 minutes, depending on the fabric's thickness. This time helps ensure the fibers relax and settle properly, reducing any unwanted creasing effectively.