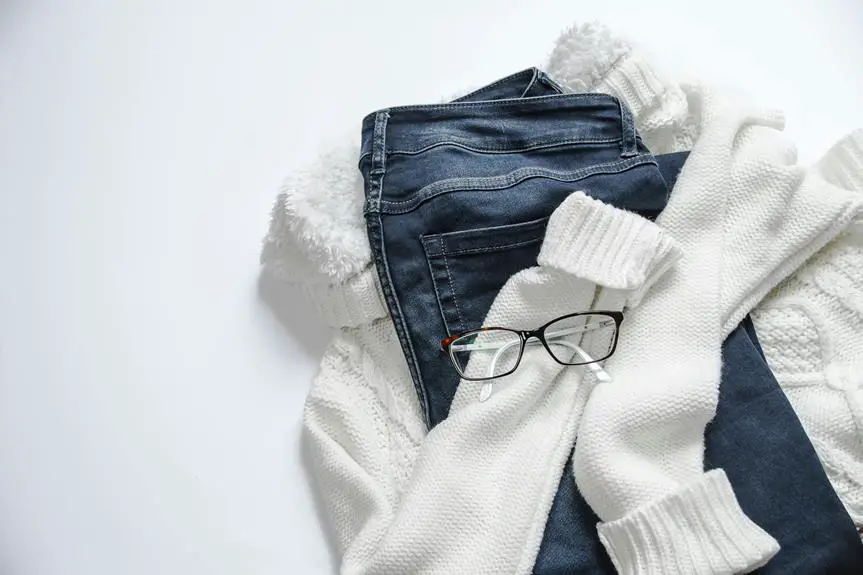
When you find a tear in your favorite shirt or a hem that's come undone, fabric glue can be a practical solution. You'll want to start by ensuring the fabric is clean and dry, as this sets the stage for a strong bond. After trimming any frayed edges, you can apply the glue to the affected area with care. However, the application process isn't the only factor in achieving a durable repair. Understanding the nuances of fabric glue and its best uses can make a significant difference in your results. What's next might surprise you.
Key Takeaways
- Prepare fabric by washing and drying it, ensuring surfaces are clean and free of oils or dirt before applying glue.
- Apply a thin, even layer of fabric glue along the edges of the tear or repair area, avoiding excess glue.
- Press the fabric pieces together firmly and use clamps or weights for heavier fabrics to maintain pressure while curing.
- Allow at least 24 hours for the glue to cure completely, avoiding washing or wetting the repaired area during this time.
What Is Fabric Glue?
Fabric glue is a versatile adhesive designed specifically for bonding fabrics, making it an essential tool for quick clothing repairs. Unlike traditional glues, fabric glue remains flexible after drying, allowing your repairs to withstand wear and movement. You'll find it available in various forms, including liquid, gel, and spray, giving you options to suit your specific needs.
This adhesive is typically water-based, making it easy to clean up with just soap and water before it dries. It dries clear, so you won't have to worry about unsightly residue on your fabric. Fabric glue is also designed to withstand washing and drying, meaning your repairs will hold up over time.
When using fabric glue, you may want to ensure the fabrics are clean and dry for the best adhesion. It's important to apply the glue sparingly to avoid soaking the fabric, which could lead to stiffness. After applying, press the fabrics together firmly and allow it to cure for the recommended time, usually a few hours, to achieve the strongest bond.
With fabric glue in your toolkit, you'll tackle clothing repairs easily and efficiently.
When to Use Fabric Glue
Knowing when to use fabric glue can save you time and effort in clothing repairs.
It's perfect for quick fixes on tears, bonding different fabric layers together, or creating no-sew hems.
If you want an easy solution without pulling out your sewing kit, fabric glue is the way to go.
Quick Fix for Tears
When a tear appears in your favorite shirt, fabric glue can be a quick and effective solution to restore its appearance. This handy adhesive works wonders for minor rips, allowing you to avoid the hassle of sewing. Just remember, it's best suited for certain situations.
Here's when you should reach for that tube of fabric glue:
- Small tears: Perfect for fixing little rips that aren't under stress.
- Fabric types: Great for lightweight fabrics like cotton, linen, and polyester.
- Immediate fixes: Ideal when you're in a hurry and need a quick repair.
- No sewing skills: A lifesaver if you're not comfortable with a needle and thread.
Before applying fabric glue, make sure the area is clean and dry. Apply a thin layer to both sides of the tear, press them together, and let it dry completely.
This method is a fantastic way to keep your clothing looking good while you plan for a more permanent fix.
Bonding Fabric Layers Together
Using fabric glue is an excellent choice for bonding layers of fabric together, especially for projects that require a strong hold without the need for sewing. You'll find it particularly useful for hems, patches, and embellishments. When you're working on a quick repair or a creative project, fabric glue saves you time and effort.
Before applying the glue, make sure the fabric surfaces are clean and dry. This ensures a better bond. Simply squeeze a small amount of glue onto one layer, then press the second layer firmly against it. Hold it in place for a few seconds to allow the glue to set.
If you're layering different types of fabric, like cotton and denim, test the glue on a small area first to ensure compatibility.
Keep in mind that fabric glue works best for lightweight to medium-weight fabrics. If you're bonding heavier materials, consider using a stronger adhesive designed for that purpose.
Always read the instructions on the glue bottle for drying times and washing guidelines. This way, you can enjoy your repaired or creatively altered clothing without worrying about the bond failing.
No-Sew Hem Alternatives
Fabric glue offers a quick and effective no-sew solution for hemming garments, eliminating the need for needles and thread. This method is perfect when you're short on time or just want a hassle-free approach.
Here are some situations where fabric glue shines as a no-sew hem alternative:
- Quick fixes: When you need to mend a hem on the fly, fabric glue gets the job done in minutes.
- Delicate fabrics: Use it on fabrics that can't withstand sewing, like silk or chiffon.
- Temporary alterations: If you're planning to wear an outfit for a short time, fabric glue allows you to create a temporary hem.
- No sewing skills: Perfect for those who aren't comfortable using a needle and thread.
Before applying, make sure the fabric surfaces are clean and dry.
Apply the glue sparingly, fold the hem, and press down firmly. Allow it to dry completely before wearing.
This method not only saves time but also gives your clothes a polished look without the commitment of sewing.
Preparing the Fabric
Start by washing and drying the fabric to remove any dirt or oils that could interfere with the adhesive. This step is crucial because any residue can weaken the bond. Once your fabric is clean, inspect it for any damaged areas that need attention. You'll want to trim any frayed edges to create a smooth surface for the glue to adhere to.
Next, lay the fabric flat on a clean workspace. Make sure you have all the necessary supplies handy, including fabric glue, scissors, and a ruler for precise measurements. If you're working with a large piece of fabric, consider using weights to keep it in place as you prepare.
Here's a quick reference table to help you with the preparation process:
| Step | Action | Purpose |
|---|---|---|
| Wash | Clean fabric | Remove dirt and oils |
| Dry | Fully dry fabric | Ensure adhesive can bond properly |
| Inspect | Check for damage | Identify areas needing repair |
| Trim | Cut frayed edges | Create a smooth surface |
| Lay flat | Prepare workspace | Ensure stability during application |
Applying Fabric Glue
When you're ready to apply fabric glue, start by preparing the surface of the fabric to ensure a strong bond.
Next, you'll want to apply the adhesive properly to avoid any mess and ensure even coverage.
Preparing the Fabric Surface
How can you ensure the fabric surface is ready for glue application?
Preparing your fabric properly is key to a successful repair with fabric glue. Follow these steps to get your fabric primed for bonding:
- Clean the area: Remove any dirt, dust, or grease that could interfere with adhesion.
- Iron the fabric: Smooth out wrinkles to create a flat surface, ensuring the glue adheres better.
- Cut frayed edges: Trim any loose threads or rough edges to prevent further unraveling.
- Test the fabric: Check if your fabric is compatible with the glue by applying a small amount in an inconspicuous area.
Applying the Adhesive Properly
With the fabric surface prepped and aligned, you're ready to apply the adhesive for a strong, lasting repair.
Start by shaking the fabric glue bottle gently to mix the contents well. Then, using the nozzle or a brush, apply a thin, even layer of glue along the edges of the fabric that need to be bonded. Avoid using too much glue, as this can create a mess and weaken the bond.
Press the fabric pieces together firmly, ensuring that they're aligned properly. If you're working with a larger area, you might want to use a small roller or your fingers to spread the glue evenly. Remember, the goal is to have complete contact between the surfaces without excess glue seeping out. If it does, quickly wipe away any excess with a damp cloth.
For intricate repairs or smaller patches, a toothpick or fine applicator can help you control the amount of glue you use. Just be patient and take your time; applying the adhesive properly is crucial for a successful repair.
Once you've secured everything in place, make sure not to disturb the fabric until you're ready for the next step.
Allowing for Proper Curing
Allow at least 24 hours for the fabric glue to cure fully, ensuring a strong and durable bond between the materials. Rushing this step can lead to weak repairs that may not hold up over time.
Here's what you should keep in mind during the curing process:
- Maintain Pressure: Keep the fabric pieces pressed together to avoid movement.
- Avoid Water: Stay clear of washing or wetting the repaired area until the glue is fully set.
- Choose the Right Environment: Cure in a well-ventilated area at room temperature to facilitate the drying process.
- Limit Handling: Try not to tug or pull on the repaired fabric while it's curing.
Tips for Best Results
To achieve the best results when using fabric glue, always clean and prepare the fabric surfaces before applying the adhesive.
Remove any dirt, oils, or old adhesive to ensure a strong bond. You can use a damp cloth or gentle detergent to clean the area, but make sure it's completely dry before gluing.
Next, choose the right fabric glue for your project. Some glues are designed specifically for certain materials, so read the labels carefully.
When you apply the glue, use a thin, even layer. Too much glue can cause unsightly lumps and may take longer to dry.
It's also important to press the fabric pieces together firmly after applying the glue. This ensures a tight bond and helps prevent any gaps.
If you're working with heavier fabrics, consider using clamps or weights to hold them in place while they cure.
Lastly, allow adequate drying time. Even if the glue feels dry to the touch, it may need more time to reach its full strength.
Following these tips will help you achieve durable repairs and extend the life of your clothing.
Common Repair Scenarios
After you've mastered the tips for achieving the best results with fabric glue, you'll want to know how to tackle common repair scenarios that often arise in clothing. Here are some typical situations where fabric glue can save the day:
- Hem repairs: Fix that frayed hem on your favorite pants or skirt quickly and easily.
- Tears in fabric: Seamlessly mend small rips or tears without the hassle of sewing.
- Loose buttons: Secure buttons that have come loose, avoiding the need for a needle and thread.
- Patches: Apply patches to cover holes or add a stylish touch to your garments.
In each of these scenarios, fabric glue offers a fast and effective solution, especially when you're pressed for time.
Remember to clean both surfaces before applying the glue for the best adhesion.
With these common repairs in mind, you'll be ready to tackle clothing issues as they arise, keeping your wardrobe looking fresh and well-maintained.
Grab your fabric glue, and let's get started on those fixes!
Caring for Fabric Glue Repairs
Caring for fabric glue repairs is essential to ensure they last and maintain the integrity of your clothing. Once you've made a repair, follow a few simple guidelines to keep it strong and reliable. First, always wait at least 24 hours before washing the item to allow the glue to fully cure. When it's time to wash, turn the garment inside out and use a gentle cycle with cold water to minimize stress on the repaired area.
Here's a quick reference table to help you remember the care tips:
| Action | Do's | Don'ts |
|---|---|---|
| Washing | Use cold water | Use hot water |
| Drying | Air dry | Use a dryer |
| Ironing | Iron on low heat | Iron directly on glue |
| Storage | Store flat or hanging | Crumple or fold tight |
Frequently Asked Questions
Is Fabric Glue Washable After It Dries?
Yes, fabric glue's generally washable once it dries. However, the durability can depend on the specific brand and fabric used. Always check the product instructions to ensure your repairs hold up through washing.
Can Fabric Glue Be Used on Leather?
Yes, you can use fabric glue on leather, but make sure it's suitable for that material. Test a small area first, and follow the manufacturer's instructions for the best results and durability.
How Long Does Fabric Glue Take to Dry?
Fabric glue typically takes about 2 to 4 hours to dry completely, but you should let it cure for 24 hours for the strongest bond. Always check the specific product's instructions for best results.
Is Fabric Glue Safe for Children's Clothing?
Yes, fabric glue's generally safe for children's clothing, but always check the label for non-toxic certifications. It's best to let it cure completely before letting kids wear the items to ensure safety and comfort.
Can I Remove Fabric Glue Stains From Fabric?
Yes, you can remove fabric glue stains from fabric. Start by gently scraping off excess glue, then use warm water and soap to dab the stain. If needed, repeat until the stain disappears completely.