So, imagine this: you've just finished sewing a stunning dress, but now your best friend wants the same one, just a different size. How do you make that happen without starting from scratch?
Well, tracing the pattern is your answer. But, before you jump into it, there are some key steps and techniques you need to know to guarantee an accurate transfer. Trust me; it's not as simple as it seems, but the payoff is worth it.
Key Takeaways
- Use Swedish tracing paper and a sharp wheel for precise pattern transfer.
- Align pattern parallel to tracing paper edges and secure with weights.
- Practice tracing techniques on scrap paper to refine accuracy.
- Maintain a well-organized workspace with proper lighting for clear tracing.
Materials Needed for Tracing
When tracing a pattern, I always make sure to gather my materials to guarantee a smooth and accurate process. One essential item is Swedish tracing paper. Its tear-resistant quality and durability make it perfect for repeated use in pattern tracing.
A sharp tracing wheel is a must-have tool for transferring pattern lines precisely onto the tracing paper. Using rulers or a measuring tape helps me confirm that my measurements are accurate and my lines are straight while tracing the patterns.
To keep everything in place, pattern weights or pins come in handy for securing both the original pattern and the tracing paper during the tracing process. Having these materials ready before starting ensures that my pattern tracing goes smoothly and the outcome is as accurate as possible.
With the right tools at hand, tracing patterns becomes a more manageable and enjoyable task.
Preparing the Workspace
Alright, let's get our workspace ready for tracing that pattern.
First things first, clear a nice, flat area where you can spread out your materials. Make sure you have all your tools handy and good lighting so you can see what you're doing.
It's all about being organized and setting yourself up for success!
Organize Your Materials
To set up your workspace efficiently for tracing a pattern, gather all the necessary materials like tracing paper, weights, rulers, and pencils in an organized manner. Here are some tips to help you organize your materials effectively:
- Tracing Paper: Have a stack nearby for easy access.
- Weights: Place them strategically on the corners of the tracing paper to keep it in place.
- Ruler: Keep a ruler handy to guarantee precise measurements and straight lines.
- Pencils: Have sharpened pencils ready for tracing the pattern accurately.
- Lighting: Make certain your workspace is well-lit to see the details of the pattern clearly while tracing.
Organizing your materials in this way will streamline the tracing process and help you achieve accurate results.
Clear a Flat Surface
After organizing your materials for tracing a pattern, the next step is to clear a flat surface in preparation for your workspace. When setting up your workspace, make sure to choose a flat and stable surface, like a table or cutting mat. It is important to have enough space to comfortably accommodate both the pattern and the tracing paper. Keeping the area clean and free of clutter is vital to prevent any disturbances during the tracing process. Additionally, have all your tools and materials within reach for easy access. Creating an organized and unobstructed workspace will greatly aid in accurately tracing your patterns.
| Key Tools | Workspace Preparation |
|---|---|
| Tracing paper | Choose a flat surface |
| Patterns | Ensure cleanliness |
| Tools | Sufficient space |
Aligning and Securing the Pattern
Alright, let's talk about aligning and securing the pattern for accurate tracing.
Make sure to align the pattern piece parallel to the edges of the tracing paper to get those lines just right.
Then, secure it all in place with pattern weights or pins to avoid any shifting while you're tracing away.
Proper Pattern Alignment
When aligning and securing a pattern for tracing, it's important to make sure the pattern is flat and smooth on a stable surface to prevent any shifting that could affect the accuracy of the tracing. Here are some tips to guarantee proper pattern alignment:
- Align the edges of the printed pattern and delicate tissue paper carefully.
- Smooth out any wrinkles or folds in the pattern or tracing paper.
- Use pattern weights or pins to secure the pattern in place.
- Check for any misalignments that could distort the traced pattern.
- Keep the pattern intact by securing it with weights or pins at regular intervals.
Secure With Weights
For secure pattern alignment and accuracy during tracing, consider using pattern weights to keep the pattern and tracing paper in place.
Pattern weights are essential in the sewing community for ensuring precise and accurate transfer of lines and markings. By using weights, you prevent shifting of the pattern and tracing paper, maintaining proper alignment throughout the tracing process.
This method helps keep the pattern flat and stable, avoiding any distortion or tearing that may occur when using pins. Pattern weights play a critical role in achieving a clean and accurate transfer of the pattern onto your fabric, making the tracing process more efficient and reliable.
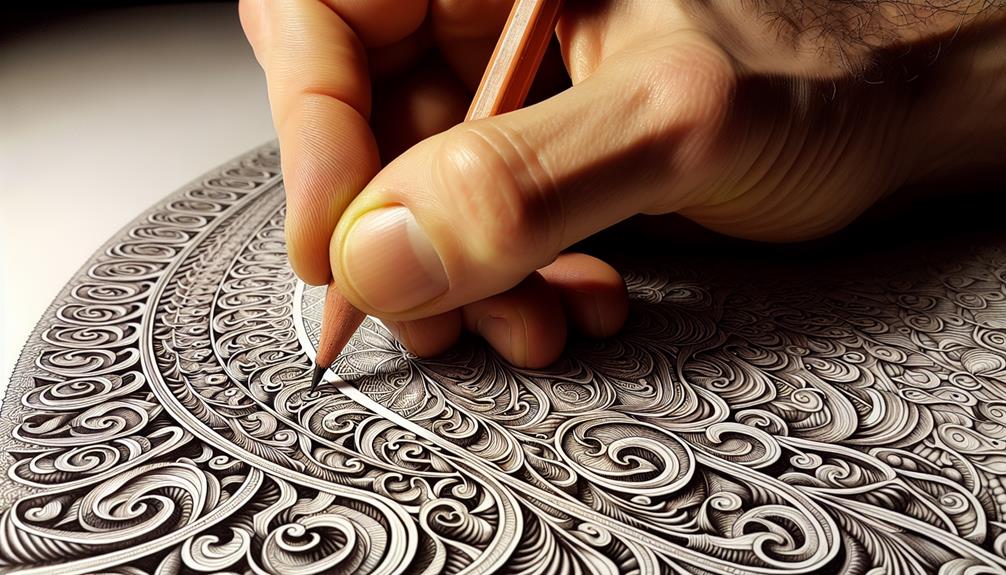
Tracing Techniques for Accuracy
To guarantee precise and clear tracing results, it's essential to use a sharp tracing wheel or stylus when transferring a pattern. Here are some techniques to help you achieve accuracy:
- Secure the pattern: Make sure the pattern and tracing paper are securely fastened with weights or pins to assure any shifting during tracing.
- Double-check markings: Pay close attention to pattern markings, notches, and grainlines to assure all necessary information is accurately transferred.
- Practice on scrap paper: Before working on the actual pattern, practice tracing on scrap paper to refine your technique and assure precision.
- Use a curved ruler: When tracing curved lines, a curved ruler can help you maintain accuracy and smoothness in your tracing.
- Flat, stable surface: Tracing on a flat and stable surface will help you maintain the integrity of the pattern and result in a more accurate transfer.
Cutting Out the Traced Pattern
After making sure the traced pattern is accurately transferred, the next step involves carefully cutting out the pattern using sharp scissors for precise results. It's important to cut along the traced lines diligently to maintain the shape and size of the pattern piece intact.
Make sure to pay attention to any additional markings such as notches, grainlines, or darts while cutting out the traced pattern. These details are essential for proper alignment and construction later on. Take your time and follow the traced lines accurately to guarantee the integrity of the pattern.
Once you have cut out the pattern piece, remember to neatly store it to keep everything organized for future use. Staying organized will save you time and effort when you need to refer back to the pattern.
Storing and Organizing Traced Patterns
When storing and organizing traced patterns, consider using gusseted pattern storage envelopes for effective protection and organization. These envelopes are great for keeping your patterns safe and neatly arranged.
To make things even more organized, here are some tips to help you out:
- Include pattern notes on the envelope for easy identification.
- Store both the original pattern sheet and traced patterns together for quick reference.
- Keep traced patterns in a designated area to prevent misplacement.
- Utilize clear labeling on the storage envelopes for easy identification of pattern pieces.
- Remember to trace around the outline of the pattern pieces accurately, especially if you need to make adjustments like a full bust adjustment.
Keeping the original pattern intact is essential for future use, and clear labeling ensures you can find what you need at a glance. Happy organizing!
Frequently Asked Questions
What Is the Best Way to Trace a Pattern?
The best way to trace a pattern involves using Swedish tracing paper for durability and precision. Secure it over the original with weights, then trace accurately using a straight edge and pencil. Transfer all markings for clarity.
How Do You Trace a Sewing Pattern Without Cutting It?
To trace a sewing pattern without cutting it, I secure tracing paper over the original pattern using weights. Then, I accurately trace the lines with a sharp tracing wheel, transferring all important markings for clear guidance.
How Do You Trace Markings on a Pattern?
To trace markings on a pattern, I use a sharp pencil or tracing wheel to transfer notches, darts, grainlines, and labels accurately onto tracing paper. Double-checking guarantees precision, and marking design elements like pocket placements is key.
Do You Cut or Trace the Pattern?
I trace patterns instead of cutting them. Tracing preserves the original, allowing for multiple sizes and adjustments while keeping the base intact. It's essential for accurate modifications and building a library of patterns for various projects.