You can create vibrant tie-dye t-shirts using these top five techniques. For a classic spiral, pinch the center and twist, then dye sections separated by rubber bands. Try a bullseye by pulling fabric into a cone and dyeing between bands. The crumple method scrunches fabric for random patterns. For stripes, fold accordion-style and dye between bands. Finally, the heart shape uses a folded shirt and rubber bands to outline the design. Keep exploring each method for even better results.
Key Takeaways
- Start with a clean, damp shirt and choose your desired tie-dye technique for best dye absorption and pattern clarity.
- Use rubber bands to section the shirt based on the folding method, like spirals, stripes, or bullseye designs.
- Apply dye generously and evenly to fabric sections for vibrant, distinct colors and patterns.
- Allow the dyed shirt to set for several hours before rinsing to ensure color fixation.
- Rinse shirt in cold water until clear, then wash separately to preserve the tie-dye colors.
Classic Spiral Pattern
One of the easiest and most popular tie-dye techniques you can try is the classic spiral pattern.
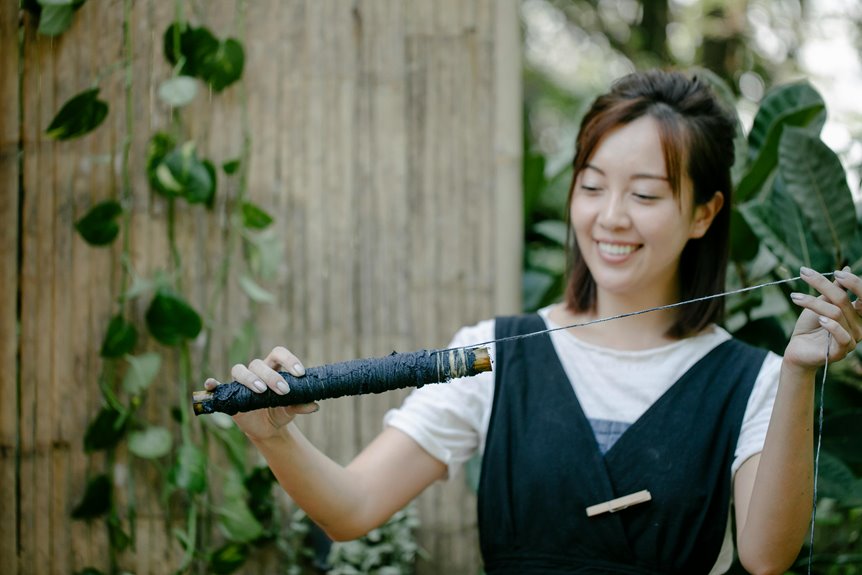
Start by laying your t-shirt flat on a clean surface. Pinch the fabric at the center where you want the spiral to begin. Twist the fabric in a circular motion, keeping it tight as you go until the entire shirt forms a flat spiral shape.
Secure the spiral with rubber bands crossing over the center, dividing the shirt into sections like pizza slices. Apply different dye colors to each section, making sure to saturate the fabric well for vibrant results.
Let the dye set according to the instructions, then rinse and wash your shirt. When you’re done, you’ll have a bold, eye-catching spiral that’s a timeless tie-dye favorite.
Bullseye Design
The bullseye design creates concentric circles that radiate from a central point, giving your t-shirt a striking, symmetrical look.
To start, pinch the fabric where you want the center of the bullseye to be. Pull that spot upward, forming a long cone shape. Next, use rubber bands to secure the shirt at evenly spaced intervals along the cone—these bands create the rings. The closer the bands, the tighter and more defined your circles will be.
When applying dye, alternate colors between each section to enhance the bullseye effect. Make sure to saturate the fabric thoroughly for vibrant results.
Once dyed, let your shirt sit for the recommended time before rinsing. This technique’s clean, bold pattern makes your shirt stand out effortlessly.
Crumple Technique
Several small folds and scrunches can transform your plain t-shirt into a vibrant masterpiece using the crumple technique. Start by laying your shirt flat, then randomly scrunch and gather fabric into a loose pile. Secure it with rubber bands to hold the folds in place. Apply dye freely across the surface for a spontaneous, colorful pattern.
| Step | Action | Tip |
|---|---|---|
| 1 | Lay shirt flat | Smooth out wrinkles first |
| 2 | Scrunch fabric | Don’t over-tighten |
| 3 | Secure with rubber bands | Use multiple bands evenly |
| 4 | Apply dye | Use various colors freely |
| 5 | Let dry & rinse | Rinse until water runs clear |
The crumple technique’s randomness guarantees every shirt is one-of-a-kind.
Stripes and Lines
Stripes and lines bring a bold, structured look to your tie-dye projects. To create this effect, start by folding your shirt accordion-style, either vertically or horizontally, depending on the direction you want your stripes. Secure the folds tightly with rubber bands placed evenly along the fabric.
Accordion-fold your shirt vertically or horizontally, secure with rubber bands, and create bold stripes and lines in your tie-dye design.
When you apply dye, target the sections between the bands to enhance the stripe contrast. Remember, consistency in folding and band placement is key to achieving clean lines.
Here are some tips to perfect your stripes and lines:
- Use thin, tight folds for narrow stripes or wider folds for bold lines.
- Apply dye carefully to avoid color bleed between sections.
- Experiment with multiple colors for a vibrant, layered stripe effect.
With practice, you’ll master stripes that stand out with crisp precision.
Heart Shape Dyeing
Creating a heart shape on your tie-dye shirt adds a charming and personal touch to your design.
Start by folding the shirt in half vertically. Draw half a heart along the fold with a washable marker. Pinch the fabric along the heart outline and secure it tightly with rubber bands, making sure the shape stays defined.
Apply dye carefully around the pinned heart, using contrasting colors to make it stand out. Let the dye set according to the instructions, then rinse and remove the rubber bands.
When your shirt dries, you’ll see a crisp heart shape that pops against the background. This technique is perfect for gifts or expressing your creativity with a simple, eye-catching design.
Frequently Asked Questions
What Type of Fabric Is Best for Tie-Dyeing?
If you want vibrant colors, you’ll love that cotton’s the best fabric for tie-dyeing. It soaks up dye perfectly, making your designs pop. You’ll find synthetic fibers just don’t hold colors as well.
How Do I Fix Dye Mistakes or Uneven Colors?
You can fix dye mistakes by soaking the shirt in a bleach solution carefully or using a color remover. For uneven colors, try reapplying dye to faded areas or blending with additional colors to balance the look.
Can I Use Natural Dyes Instead of Synthetic Ones?
You might be surprised, but yes, you can use natural dyes! They offer unique, earthy tones and eco-friendly benefits. Just remember, they can be less vibrant and need longer setting times compared to synthetic dyes.
What Safety Precautions Should I Take While Tie-Dyeing?
You should wear gloves to protect your skin, work in a well-ventilated area, and cover your workspace with plastic or newspapers. Don’t inhale dye powders, and wash your hands thoroughly after dyeing to avoid irritation or stains.
How Do I Care for Tie-Dyed Shirts After Washing?
To care for tie-dyed shirts after washing, you should turn them inside out, wash in cold water on a gentle cycle, avoid bleach, and air dry or tumble dry on low to keep the colors vibrant and prevent fading.