To tie-dye a spider pattern for Halloween, start by choosing 100% natural, light-colored fabric for vivid colors. Sketch a simple spider shape with an oval body and legs using a washable marker. Secure fabric with rubber bands, then apply dye strategically—use dark colors like black or purple on the body and lighter shades on the legs. After dyeing, rinse in cold water, carefully unwrap, and air dry to reveal your spooky design. Keep following for detailed tips to perfect your spooky craft!
Key Takeaways
- Choose light-colored, 100% natural fabric like cotton for vibrant Halloween spider patterns.
- Sketch a symmetrical spider shape on fabric using washable markers before dyeing.
- Use rubber bands to section the fabric, then apply dark dyes near the spider body and lighter shades on its legs.
- Rinse dyed fabric gently in cold water to preserve sharp spider designs without bleeding.
- Air dry in shade, heat-set the dye, and follow mild washing instructions to maintain the spider tie-dye.
Gather Your Materials
To tie-dye a spider pattern, you’ll need a few essential materials ready before you begin. Grab some rubber bands to secure your fabric and create distinct sections for the spider design.
You’ll want fabric dye in colors like black and white or classic Halloween shades such as orange and purple. Don’t forget gloves to protect your hands from staining.
Prepare squeeze bottles for easy and precise dye application. A plastic table cover or garbage bags will keep your workspace clean.
Have some plastic bags or plastic wrap handy to wrap the dyed fabric while it sets. Finally, keep paper towels nearby to quickly wipe any spills.
With these materials, you’ll be all set to create a spooky and striking spider tie-dye pattern.
Choose the Right Fabric
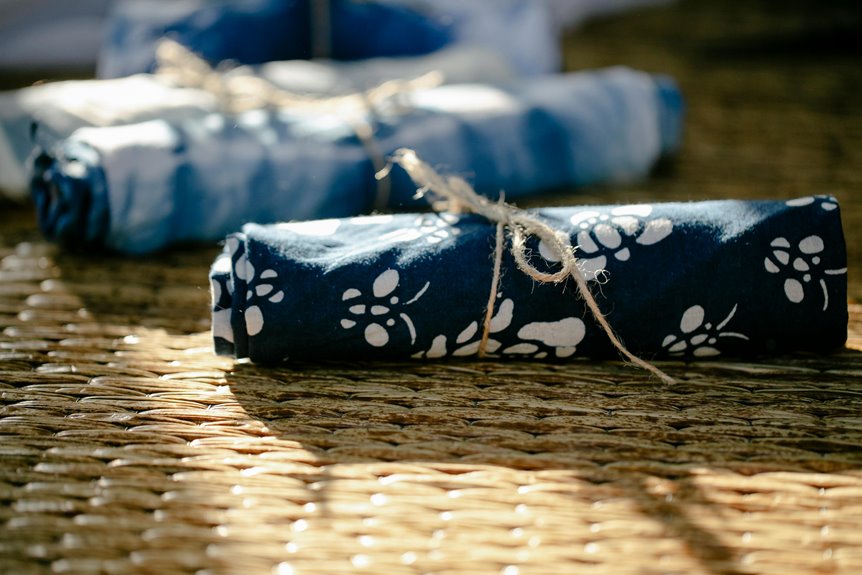
Selecting the right fabric plays an essential role in achieving a vibrant and lasting spider tie-dye pattern. You’ll want to pick 100% natural fibers like cotton, rayon, or silk because they absorb dye better and produce brighter colors.
Avoid synthetic fabrics such as polyester or nylon since they don’t hold dye well, resulting in dull or uneven patterns. Choose a plain, light-colored fabric to let your spider design stand out vividly. A white or off-white t-shirt or a cotton bandana works perfectly.
Also, consider the fabric’s weight: lighter materials will dry faster but might be more delicate, while heavier fabrics hold color longer but take more time to dry. Choosing the right fabric guarantees your spider pattern pops and lasts through many washes.
Prepare Your Workspace
Gathering all your materials and organizing your workspace is the first step to a smooth tie-dye experience.
Starting with all your supplies and a tidy workspace sets the stage for successful tie-dyeing.
Find a flat surface, like a table or countertop, and cover it with plastic or old newspapers to protect against dye stains. Make certain you have easy access to your fabric, rubber bands, gloves, squeeze bottles filled with dye, and a spray bottle with water.
Set up a trash bin nearby for quick clean-up. Wear old clothes or an apron since dye can be messy. Good lighting helps you see details clearly while working.
If you’re indoors, guarantee proper ventilation to avoid inhaling fumes. Taking these steps prepares you for a focused, efficient process, making it easier to create your spider pattern without interruptions or mess.
Sketch the Spider Design
Start by sketching basic spider shapes to guide your tie-dye design.
Make sure to plan symmetrical patterns so your spider looks balanced and eye-catching.
Keep your lines clean and simple to make the dyeing process easier.
Drawing Basic Spider Shapes
Begin by sketching one or two basic spider shapes on your fabric using a washable marker or pencil. Start with a simple oval for the spider’s body and a smaller circle for the head.
Add eight straight, evenly spaced legs extending from the body—four on each side. Keep the legs slightly curved to give a natural look. Don’t worry about intricate details; focus on clear, bold shapes that will stand out once dyed.
Make sure your lines are distinct but light enough to wash out later. This basic outline serves as your guide for folding and tying the fabric.
Planning Symmetrical Patterns
Although drawing basic spider shapes gives you a solid foundation, planning symmetrical patterns assures your design looks balanced and eye-catching. To do this, start by sketching half the spider on paper, then mirror it for perfect symmetry. This method helps you visualize the final look before dyeing. Use clear lines and keep the legs evenly spaced to maintain harmony.
Here’s a quick guide to plan your symmetrical spider pattern:
| Step | Tip |
|---|---|
| Sketch Half Shape | Draw one side of the spider carefully |
| Mirror Design | Fold paper or use tracing for symmetry |
| Adjust Leg Spacing | Guarantee equal distance between legs |
| Finalize Outline | Simplify lines for easier tie-dye folds |
Following this plan sets you up for a stunning spider tie-dye design.
Fold and Bind the Fabric
To create the spider pattern, fold your fabric several times into a tight triangle or accordion shape, focusing on making crisp, even folds. This will help form the symmetrical legs of the spider.
Once folded, secure the fabric tightly with rubber bands at regular intervals along the length. Position the bands where you want the spider’s body and legs to appear—these bindings resist the dye, creating the distinct spider shapes.
Make sure the bands are snug but not so tight that they damage the fabric. If you want more detailed legs, add smaller rubber bands closer together.
Binding correctly is essential; it controls where the dye penetrates and where it doesn’t, ensuring your spider pattern stands out sharply when you apply the dye next.
Mix Your Dye Colors
Choose two or three vibrant dye colors that will make your spider pattern pop. Mixing your dye colors carefully sets the tone for your design’s impact.
Start by preparing each dye according to the package instructions, ensuring vibrant, consistent results. Use separate squeeze bottles for each color to control application easily.
Keep these tips in mind while mixing your colors:
- Use contrasting colors like black, orange, and purple for a Halloween feel
- Test your colors on a scrap fabric piece first
- Mix dyes in a well-ventilated area
- Wear gloves to protect your hands
- Keep the dye mixtures thin enough for smooth application but not too watery
This preparation will help your spider tie-dye stand out with bold, clear colors.
Apply the Dye Strategically
When you start applying the dye, focus on controlling where each color lands to bring your spider pattern to life. Use squeeze bottles for precision and apply darker colors near the spider’s body, lighter shades on the legs. Avoid oversaturating to prevent colors from bleeding together. Rotate the fabric as you dye to maintain even coverage.
| Section | Color Choice | Application Tip |
|---|---|---|
| Spider Body | Black or Dark Purple | Apply dye in tight circles |
| Spider Legs | Orange or Red | Use thin, linear strokes |
| Background | White or Light Gray | Lightly dab to avoid overpowering |
This method highlights the spider’s shape and guarantees your Halloween tie-dye stands out.
Let the Dye Set Properly
Although the dye looks vibrant as you finish applying it, you’ll need to let it set properly to confirm the colors fully develop and stay vivid. This step is essential to lock in the design’s brilliance and guarantee your spider pattern really pops.
To let the dye set effectively:
- Wrap your fabric in plastic to keep it moist.
- Place it in a warm, shaded area away from direct sunlight.
- Let it sit undisturbed for 6 to 8 hours, or overnight for deeper colors.
- Avoid moving or unwrapping the fabric during this time.
- Check the manufacturer’s instructions for any specific setting times.
Following these tips helps the dye bond with the fibers, giving your Halloween spider pattern vibrant, lasting colors.
Rinse and Reveal Your Design
Now that the dye has set, start by rinsing your fabric with cold water to remove excess dye.
Carefully unwrap your design slowly to avoid disturbing the pattern.
Finally, let your piece dry completely to set the vibrant spider pattern.
Rinse With Cold Water
Start by rinsing your tie-dyed fabric under cold water to stop the dye from setting further. This step is essential to lock in your spider pattern’s vibrant colors while preventing unwanted bleeding.
Keep rinsing until the water runs clear, ensuring excess dye washes away without dulling your design.
When rinsing, remember to:
- Use cold water to preserve color sharpness
- Handle fabric gently to avoid distorting the spider pattern
- Rinse thoroughly to remove all loose dye
- Rotate fabric to expose all areas evenly
- Avoid hot water, which can cause colors to fade or bleed
Unwrap Carefully and Slowly
After rinsing, you’ll want to unwrap your fabric carefully and slowly to reveal your spider pattern.
Gently pull apart the folds or rubber bands, making sure not to tear the fabric. Take your time—rushing can cause accidental smudges or distort the design.
As you unwrap, watch the spider motif emerge, its legs and body forming from the vibrant colors you applied earlier. If you notice any areas where dye hasn’t fully penetrated, that’s normal and adds character to the pattern.
Keep the fabric supported to avoid stretching or pulling, which could alter the final look. Once fully unwrapped, you’ll have a clear view of your unique spider tie-dye, ready for the next step in the process.
Dry and Set Design
Once you’ve carefully unwrapped your fabric, it’s time to rinse the excess dye under cold water until it runs clear. This step reveals your spider pattern and prevents colors from bleeding.
After rinsing, gently squeeze out the water without wringing to avoid distorting the design. Next, you’ll want to dry and set your design properly to lock in those vibrant colors.
Here’s how to finish strong:
- Use a clean towel to blot excess moisture.
- Air dry in a shaded area to prevent fading.
- Once dry, heat-set the dye with an iron or dryer for 20 minutes.
- Wash separately in cold water for the first few washes.
- Avoid bleach or harsh detergents to keep colors bright.
Follow these steps, and your spider tie-dye will look spooky and stunning!
Frequently Asked Questions
Can I Use Bleach Instead of Dye for a Spider Pattern?
You can use bleach instead of dye to create a spider pattern, but be careful. Bleach removes color, so it works best on dark fabrics. Always wear gloves and work in a well-ventilated area to stay safe.
How Do I Prevent Colors From Bleeding Together?
Did you know 70% of tie-dye mishaps happen because colors bleed? To prevent this, you’ll want to use fiber-reactive dyes, apply soda ash fixative, and keep colors separated while wrapping your fabric tightly before setting.
What Is the Best Way to Dry Tie-Dye Fabric?
You should let your tie-dye fabric air dry flat or hang it up to dry naturally. Avoid using a dryer initially, as heat can cause colors to fade or bleed before setting properly.
Can I Wash Tie-Dye Shirts in a Regular Washing Machine?
Yes, you can wash tie-dye shirts in a regular washing machine. Just turn them inside out, use cold water, and choose a gentle cycle to protect the colors. Avoid harsh detergents to keep your design vibrant longer.
How Long Does the Dye Last on Fabric?
Your dye can last several years if you wash your fabric gently in cold water and avoid harsh detergents. Over time, colors may fade, but proper care will keep your tie-dye vibrant much longer.