To tie-dye black shirts with bleach, start by washing and drying your shirt to remove oils. Twist or fold it, securing sections with rubber bands. Mix one part bleach with two parts water, then carefully spray or apply it onto the exposed fabric. Rinse thoroughly once you reach the desired lightness, then wash separately. Always wear gloves and work in a ventilated area for safety. If you want to create stunning patterns and keep your design vibrant, there’s more to explore about the process.
Key Takeaways
- Use a plain black cotton shirt for best bleach reaction and vibrant reverse tie-dye effects.
- Twist or fold the shirt, secure with rubber bands to create patterns before applying bleach.
- Dilute bleach with water (1:2 ratio) and apply carefully with a spray or squeeze bottle on exposed areas.
- Rinse the shirt immediately in cold water after bleaching to stop the process and prevent over-bleaching.
- Wash shirt separately inside out with gentle detergent and air dry to preserve the design and fabric.
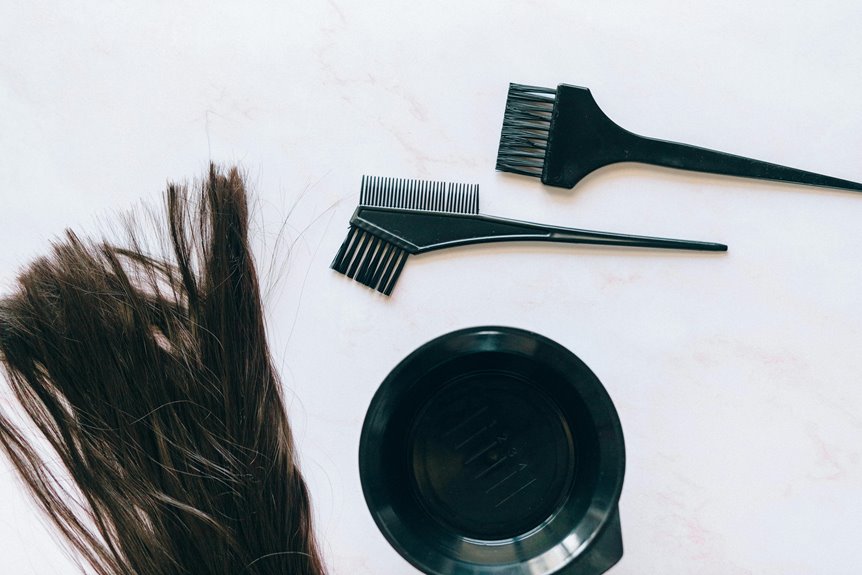
Materials Needed for Reverse Tie-Dye
To create stunning reverse tie-dye effects on black shirts, you’ll need a few key materials. Start with a plain black cotton shirt, as natural fibers react best with bleach.
Begin with a plain black cotton shirt for the best bleach-reactive reverse tie-dye results.
Grab some rubber bands to section off parts of the shirt and create patterns. You’ll also need a spray bottle or squeeze bottle to apply the bleach solution precisely.
Use gloves to protect your hands from the bleach, and work in a well-ventilated area or outdoors to avoid fumes.
Have some plastic or cardboard to place inside the shirt, preventing bleach from seeping through to the back.
Finally, keep a bucket of water or a hose nearby for rinsing the shirt after bleaching. These essentials will set you up for successful reverse tie-dye projects.
Preparing Your Black Shirt for Bleach
Before applying bleach, make certain your black shirt is clean and completely dry to secure even bleaching. Any dirt or moisture can cause uneven spots or patchiness. Wash your shirt without fabric softener and dry it thoroughly. Next, prepare your workspace with gloves and a plastic cover to protect surfaces.
Here’s a quick checklist to get your shirt ready:
| Task | Purpose |
|---|---|
| Wash shirt | Remove oils and dirt |
| Dry thoroughly | Prevent uneven bleach spread |
| Protect workspace | Avoid bleach damage elsewhere |
| Wear gloves | Protect your skin from bleach |
Taking these steps guarantees your shirt is ready for a smooth reverse tie-dye process and vibrant results.
Step-by-Step Bleach Tie-Dye Techniques
Although bleach can be tricky to handle, you’ll get striking patterns by mastering a few simple tie-dye techniques. First, twist or fold your black shirt and secure it tightly with rubber bands to create different designs.
Then, prepare a bleach solution—usually one part bleach to two parts water—and use a spray bottle or squeeze bottle for application. Apply bleach carefully on the exposed fabric areas, watching the color change.
Once you achieve the desired lightness, rinse the shirt thoroughly in cold water to stop the bleaching process, then wash it separately.
Here are three popular techniques to try:
- Spiral: Twist the shirt from the center and secure with bands.
- Crumple: Scrunch fabric randomly for abstract spots.
- Stripes: Fold fabric accordion-style and bind with bands.
Safety Tips When Working With Bleach
When you work with bleach, you need to prioritize safety to protect your skin, eyes, and lungs. Always wear gloves and goggles, and work in a well-ventilated area to avoid harmful fumes. Keep bleach away from children and pets, and never mix it with other chemicals. If bleach splashes on your skin or in your eyes, rinse immediately with plenty of water.
| Safety Tip | Reason | Action |
|---|---|---|
| Wear Gloves | Protects skin from burns | Use rubber or latex gloves |
| Use Goggles | Prevents eye irritation | Choose snug-fitting goggles |
| Ventilate Space | Avoids inhaling fumes | Open windows or use fans |
| Keep Away from Kids | Prevents accidental ingestion | Store bleach out of reach |
| Rinse Immediately | Reduces damage from contact | Use plenty of clean water |
Caring for Your Reverse Tie-Dye Shirt
Since reverse tie-dye involves bleach, you’ll want to handle your shirt with extra care to maintain its vibrant design and fabric integrity.
To keep your reverse tie-dye shirt looking fresh, follow these simple tips:
- Wash it inside out in cold water to prevent further fading.
- Use a gentle detergent free of bleach or harsh chemicals.
- Avoid machine drying; instead, air dry your shirt to preserve the fabric and colors.
Frequently Asked Questions
Can I Use Other Colors Besides Black for Reverse Tie-Dye?
You might think bleach works only on dark fabrics, but it can lighten vibrant colors too. Just remember, the effect varies—some shades fade to pastel, while others might turn uneven. Experiment carefully for best results.
How Long Does the Bleach Effect Last on Fabric?
The bleach effect on fabric lasts indefinitely since it permanently removes color. However, over time, factors like washing and sun exposure might fade the design slightly. To keep it vibrant, wash shirts gently and avoid harsh detergents.
Can I Reverse Tie-Dye on Different Fabric Types?
You can reverse tie-dye on cotton easily, like Sarah did with her cotton canvas tote. But synthetic fabrics like polyester don’t bleach well, so you’ll want to test a small area before committing to the whole piece.
What Causes Uneven Bleaching or Blotches on Shirts?
Uneven bleaching or blotches happen when bleach isn’t applied consistently, fabric isn’t damp enough, or bleach concentration varies. You’ll get better results by controlling these factors and applying bleach evenly for a cleaner design.
Can I Add Multiple Colors After Bleaching the Shirt?
You can add multiple colors after bleaching, but keep in mind bleach weakens fabric, so colors might not be as vibrant or long-lasting. Use fiber-reactive dyes for best results, and always rinse thoroughly between colors to prevent mixing.