When sewing suede or faux suede, use sharp needles sized 90/14 or 100/16 and a walking foot to feed the fabric evenly. Choose polyester thread for durability and set your stitch length slightly longer, around 3 to 4 mm. Avoid pins—use clips instead to prevent marks. Gently press seams without crushing the nap, and tie off threads rather than backstitching. Knowing these basics will help you master sewing suede successfully and explore more tips for flawless results.
Key Takeaways
- Use sharp needles (size 90/14 or 100/16) and a walking foot to sew suede and faux suede evenly without shifting.
- Choose polyester or nylon thread and set stitch length to 3.0–4.0 mm for durable, clean seams.
- Avoid pins; use clips to prevent holes or marks when cutting and sewing suede fabrics.
- Prepare fabric by cleaning, brushing, and conditioning suede or faux suede before sewing for best results.
- Reinforce stress points with double stitching or bar tacks and tie off threads instead of backstitching.
Understanding the Characteristics of Suede and Faux Suede
Suede and faux suede both offer a soft, velvety texture that adds a luxurious feel to your projects, but their properties differ considerably.
Suede is made from the underside of animal hides, giving it a natural, breathable quality and unique grain patterns. It’s more delicate and requires careful handling to avoid stains or water damage.
Made from the underside of hides, suede offers natural breathability and unique texture but needs gentle care to stay pristine.
Faux suede, on the other hand, is synthetic, often crafted from polyester or microfiber. It’s more durable, water-resistant, and easier to clean, making it suitable for everyday use.
When you sew, keep in mind suede’s tendency to stretch and its nap direction, while faux suede tends to be more stable.
Understanding these differences helps you choose the right fabric and techniques for your sewing project.
Essential Sewing Tools and Materials for Suede
Working with soft, textured fabrics like suede or faux suede means you’ll need specific tools to handle their unique qualities.
Start with a sturdy, sharp sewing needle designed for heavy fabrics—size 90/14 or 100/16 works well. Use a walking foot to feed the fabric evenly and prevent shifting. Choose polyester or nylon thread for strength and durability.
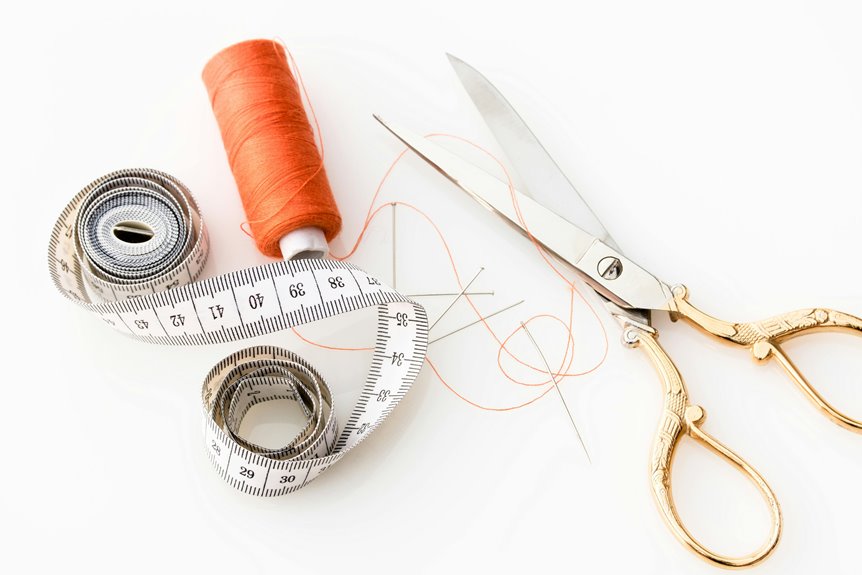
You’ll also want fine, sharp scissors or a rotary cutter to make clean cuts without crushing the nap. Clips replace pins to avoid leaving holes or marks. A seam ripper with a fine point helps fix mistakes gently.
Finally, a tailor’s chalk or a fabric marker that won’t stain is essential for marking without damaging the suede’s surface. These tools make sewing suede manageable and professional.
Preparing Suede and Faux Suede for Sewing
Before you start sewing, make sure to clean and condition your suede or faux suede to keep it soft and manageable.
When cutting, use sharp tools and avoid pins that can leave marks—clips work best.
Taking these steps will help your project turn out smooth and professional.
Cleaning and Conditioning Techniques
Although suede and faux suede are durable materials, you’ll want to clean and condition them properly to confirm your sewing project turns out smooth and long-lasting.
Start by gently brushing the fabric with a suede brush to remove dirt and dust. For light stains, use a suede eraser or a soft cloth dampened with a small amount of white vinegar or rubbing alcohol. Avoid soaking the material, as excess moisture can damage its texture.
After cleaning, apply a suede conditioner or protector spray to keep the fabric soft and prevent cracking. Test any cleaning or conditioning product on a small hidden area first to confirm it won’t discolor or harm your fabric.
Regular maintenance preserves the suede’s appearance and makes sewing easier.
Cutting and Pinning Tips
Since suede and faux suede have unique textures that can shift easily, you’ll need to cut and pin them carefully to maintain clean edges and accurate shapes. Use sharp scissors or a rotary cutter to avoid fraying. Lay the fabric on a flat surface, smoothing it gently. Pin within the seam allowance to prevent visible holes. Avoid heavy pressure when pinning to protect the pile. Consider using clips for faux suede to prevent marks.
| Step | Tip | Reason |
|---|---|---|
| Cutting | Use sharp scissors | Clean, precise cuts |
| Cutting | Cut on a flat surface | Prevent fabric shifting |
| Pinning | Pin within seam allowance | Avoid visible pin marks |
| Pinning | Use clips on faux suede | Protect fabric texture |
| Pinning | Avoid heavy pin pressure | Prevent pile damage |
Choosing the Right Sewing Machine Settings
When sewing suede or faux suede, picking the right needle is essential to avoid damaging the fabric.
You’ll want to use a sharp or leather needle designed for tougher materials.
Also, adjusting your stitch length to be slightly longer helps prevent perforations and keeps seams strong.
Needle Type Selection
Choosing the right needle type is essential for sewing suede and faux suede, as it guarantees clean stitches without damaging the fabric. You’ll want a needle that can pierce the dense fibers without leaving large holes or causing runs. A sharp or microtex needle usually works best.
Here’s a quick guide to needle types suitable for suede:
| Needle Type | Best For |
|---|---|
| Microtex | Faux suede, precise seams |
| Sharp | Genuine suede, thick layers |
| Leather Needle | Thick suede, multiple layers |
Avoid universal needles since they can snag or tear your fabric. Using the correct needle keeps your project neat and professional-looking. Change needles often to maintain stitch quality and prevent fabric damage.
Stitch Length Adjustment
Although suede and faux suede require special care, adjusting your stitch length properly secures strong seams without damaging the fabric.
You’ll want to set your sewing machine to a longer stitch length, typically between 3.0 and 4.0 mm. Short stitches can perforate and weaken the suede, causing it to tear over time. A longer stitch distributes the stress evenly, preserving the integrity of the material.
Test your stitch length on a scrap piece before sewing your project to verify the fabric feeds smoothly without puckering.
Also, avoid backstitching at the start and end of seams; instead, tie off threads by hand to prevent permanent holes.
These simple adjustments help you sew suede and faux suede with durability and a professional finish.
Techniques for Cutting and Marking Suede Fabrics
Cutting and marking suede fabrics requires special tools and techniques to preserve their texture and prevent damage. Use sharp, heavy-duty scissors or a rotary cutter to guarantee clean cuts without crushing the nap. Always cut suede with the nap running in the same direction to maintain consistency.
When marking, avoid pins that can leave permanent holes; instead, opt for tailor’s chalk or a fabric marking pen designed for delicate materials. Test your marking tool on a scrap piece first. Lay your pattern pieces carefully, and consider using pattern weights to hold them in place without puncturing the fabric.
Work on a flat, stable surface to keep cuts precise. These careful steps help you handle suede smoothly, setting you up for a professional finish.
Stitching and Seaming Tips for Durable Results
Once you’ve carefully cut and marked your suede pieces, it’s time to focus on stitching and seaming techniques that will hold up over time.
Use a strong, synthetic thread like polyester for durability. Opt for a slightly longer stitch length—around 3 to 3.5 mm—to prevent perforating and weakening the fabric.
When sewing seams, avoid backstitching directly on the suede surface; instead, tie off threads or backstitch on seam allowances.
Press seams gently with a cloth between the iron and fabric to avoid crushing the nap.
Consider using a walking foot or a Teflon foot to help the fabric feed evenly and reduce puckering.
Finally, reinforce stress points with double stitching or bar tacks for added strength.
These steps will guarantee your suede project stays sturdy and professional-looking.
Finishing Touches and Care for Suede Projects
After stitching your suede project, you’ll want to focus on finishing touches that enhance its appearance and longevity.
First, gently brush the suede with a soft suede brush to lift the nap and remove any loose fibers.
Gently brush suede with a soft brush to lift the nap and clear away loose fibers.
Second, apply a suede protector spray evenly to shield your project from stains and moisture—this step is essential for maintaining its look.
Third, store your suede item in a cool, dry place away from direct sunlight to prevent fading and cracking.
When cleaning, avoid water; instead, use a suede eraser or a specialized cleaner for spot treatments.
Following these steps guarantees your suede projects stay beautiful and durable, letting you enjoy your handmade creations for years to come.
Frequently Asked Questions
Can Suede and Faux Suede Be Machine Washed After Sewing?
You shouldn’t machine wash suede or faux suede after sewing because water can damage the texture. Instead, spot clean or use a professional cleaner to maintain the fabric’s look and avoid shrinking or stiffening.
What Types of Thread Work Best With Suede Fabrics?
You’ll want to use polyester or nylon thread because they’re strong and flexible. Heavy-duty or upholstery thread works great too, ensuring your stitches hold up well without damaging the suede’s delicate texture.
How Do I Remove Stains From Suede Without Damaging It?
You’ll want to gently brush the stain with a suede brush or eraser first. Avoid water—use a suede cleaner or a mix of white vinegar and water sparingly to blot, then let it air dry naturally.
Is It Better to Hand Sew or Machine Sew Suede?
When sewing suede, you’re walking a tightrope: hand sewing gives you control for delicate spots, but machine sewing saves time and guarantees durability. Choose based on your project’s needs and your comfort with each method.
Can I Use Leather Glue on Faux Suede Projects?
You can use leather glue on faux suede projects, but make sure it’s suitable for synthetic materials. Test a small area first to avoid damage, and remember glue works best for small repairs, not full seams.