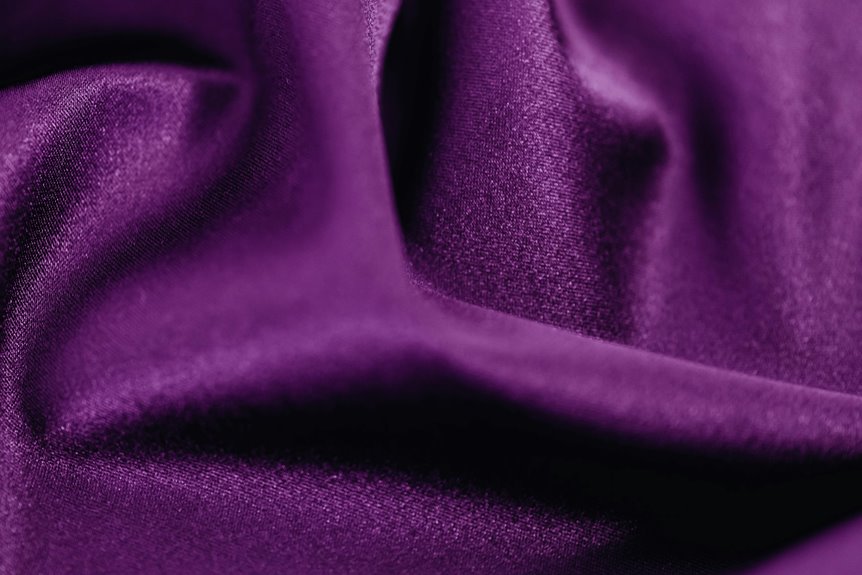
To sew duchess satin without puckering, start by prepping a clean, well-lit workspace with sharp scissors and an iron nearby. Use a fine needle (size 70/10 microtex) and high-quality polyester or silk thread close to your fabric color. Cut on a flat surface, stabilizing the fabric with pins or fusible interfacing. Sew slowly with a short stitch length and moderate presser foot pressure for smooth seams. Keep going to uncover more tips for a flawless finish.
Key Takeaways
- Use a fine, sharp needle (size 70/10 microtex) and high-quality polyester or silk thread matched to the fabric color.
- Cut fabric on a stable surface with sharp scissors or a rotary cutter, using weights or pins to prevent shifting.
- Pin fabric with fine pins placed perpendicular to seam lines and avoid pinning too close to seams to reduce distortion.
- Sew slowly with a short stitch length (1.5–2 mm) and moderate presser foot pressure to maintain fabric tension.
- Use a pressing cloth and iron carefully after sewing to prevent puckering and maintain fabric smoothness.
Preparing Your Sewing Space and Tools
Before you begin sewing Duchess satin, set up your workspace to guarantee efficiency and accuracy. Clear your table of clutter so you have ample room to lay out your fabric smoothly. Good lighting is essential; it helps you see delicate details and avoid mistakes.
Keep sharp fabric scissors nearby for clean cuts, and have pins or fabric clips ready to secure your satin without leaving marks. A pressing cloth and iron should be within reach to press seams carefully as you go, preventing puckering.
Arrange your tools logically—measuring tape, seam ripper, and marking tools—so you can grab them without interrupting your workflow. This organized setup guarantees you focus on your stitching and handle the luxurious fabric with care.
Selecting the Right Needle and Thread
When working with Duchess satin, choosing the right needle and thread is essential to achieve smooth, professional seams.
Use a fine, sharp needle—like a size 70/10 or 80/12 microtex needle—to pierce the fabric cleanly without causing snags or runs. Avoid ballpoint needles, as they can damage the delicate satin fibers.
Choose a fine, sharp 70/10 or 80/12 microtex needle to prevent snags; avoid ballpoint needles on satin.
For thread, opt for high-quality polyester or silk thread; they offer strength and a smooth finish that complements the fabric’s sheen. Match the thread color closely to your fabric for a seamless look.
Using the correct needle and thread reduces puckering and skipped stitches, ensuring your project looks polished and holds up well over time.
Take your time selecting these tools—they make a big difference when sewing Duchess satin.
Cutting Duchess Satin Accurately
To cut duchess satin accurately, you’ll want to use sharp scissors or a rotary cutter to avoid snagging the fabric.
Make certain to stabilize the fabric on a flat surface, using weights or pins to keep it from shifting.
Taking these steps guarantees clean, precise edges for your project.
Use Sharp Tools
Since duchess satin is a thick, tightly woven fabric, you’ll need sharp tools to cut it cleanly and avoid fraying.
Use a new pair of fabric scissors or a rotary cutter with a fresh blade to guarantee smooth, precise cuts. Dull blades can snag or distort the fabric, leading to uneven edges and puckering when sewn.
Always cut on a stable surface, and avoid lifting the fabric as you cut to prevent shifting. If you’re using scissors, open them fully with each cut to maintain control and accuracy.
Keeping your tools sharp not only improves your cutting accuracy but also helps maintain the fabric’s integrity, making your sewing process smoother and your final garment look polished and professional.
Stabilize Fabric Properly
Although duchess satin‘s smooth surface can be slippery, you can keep it steady by properly stabilizing the fabric before cutting. Start by pressing the fabric gently with a low-heat iron to remove any creases.
Lay it flat on a clean, hard surface and secure it with pattern weights instead of pins to avoid marks and puckering. If you must pin, use fine silk pins placed perpendicular to the cutting line to minimize distortion.
Consider placing a layer of tissue paper underneath the fabric to add grip and prevent slipping. Before cutting, double-check that the fabric is smooth and taut but not stretched.
Taking these steps guarantees your cuts are accurate and clean, making sewing duchess satin smoother and reducing puckering in your finished garment.
Pinning and Stabilizing the Fabric
Start by carefully pinning your duchess satin to keep the fabric layers aligned without causing damage. Use fine, sharp pins placed perpendicular to the seam line to avoid leaving marks or puckering. To stabilize the fabric further, consider using tailor’s tape or a lightweight fusible interfacing on seams prone to stretching.
| Pinning Tips | Stabilizing Techniques |
|---|---|
| Use fine, sharp pins | Apply tailor’s tape |
| Pin perpendicular to seam | Use lightweight interfacing |
| Avoid pinning too close | Press gently after applying |
| Remove pins while sewing | Stabilize edges before sewing |
These steps help maintain fabric tension and prevent shifting, setting you up perfectly for smooth, professional sewing.
Sewing Techniques to Prevent Puckering
Mastering three key sewing techniques can help you prevent puckering when working with duchess satin.
First, use a fine needle, like size 60/8 or 70/10, to minimize fabric damage.
Second, opt for a short stitch length—about 1.5 to 2 mm—to maintain control and produce smooth seams.
Third, sew slowly and steadily, letting the machine feed the fabric without pulling or pushing it, which avoids stretching and puckering.
Additionally, consider using a straight stitch plate to reduce fabric shifting.
Keep your presser foot pressure moderate, so it grips without compressing the fabric.
Finishing Touches for a Professional Look
Once you’ve sewn your duchess satin pieces together, applying the right finishing touches will elevate your garment from good to truly professional. Press seams gently with a low-heat iron and a pressing cloth to avoid shine or damage. Hand-stitch hems for a clean, invisible finish. Add delicate trims or satin-covered buttons to enhance elegance. Always inspect for stray threads and remove them carefully.
| Finishing Step | Emotional Impact |
|---|---|
| Gentle pressing | Confidence in appearance |
| Hand-stitched hems | Pride in craftsmanship |
| Satin-covered buttons | Sophistication and charm |
| Thread removal | Satisfaction with detail |
These finishing touches show your dedication and make your duchess satin garment look flawless and refined.
Frequently Asked Questions
Can Duchess Satin Be Machine Washed or Dry Cleaned?
You should avoid machine washing duchess satin since it can damage the fabric. Instead, you’ll want to dry clean it to keep its luxurious finish and prevent any puckering or distortion from water and agitation.
What Is the Best Type of Lining for Duchess Satin Garments?
You’ll want to choose a lightweight, breathable lining like silk charmeuse or lightweight satin for duchess satin garments. These fabrics complement the luxurious feel without adding bulk, ensuring comfort and maintaining your garment’s elegant drape.
How Do I Store Duchess Satin to Prevent Wrinkles?
Treat your duchess satin like a delicate flower—hang it on padded hangers in a cool, dry place. Avoid folding to prevent wrinkles, and cover it with a breathable garment bag to keep dust and creases at bay.
Can I Use a Serger on Duchess Satin Fabric?
You can use a serger on duchess satin, but you’ll need to adjust the tension and use fine needles to avoid puckering. Test on a scrap first to guarantee smooth seams without damaging the delicate fabric.
What Are Common Projects Made With Duchess Satin?
Like a painter with a blank canvas, you’ll find duchess satin perfect for elegant gowns, bridal wear, and luxurious evening dresses. You’ll also enjoy making chic skirts, tailored jackets, and sophisticated accessories that shimmer with class.