When you're ready to create your own fabric stencils, the first step is choosing a design that aligns with your project's vision. You'll need to consider the size and complexity of your design, as these factors can significantly impact the final outcome. Once you've settled on a design, gathering the right materials is crucial for achieving clean results. As you prepare to cut your stencil, it's important to think about the techniques that will ensure precision. Let's explore the steps that will lead you to a successful stencil creation.
Key Takeaways
- Choose a design that aligns with your project's purpose and desired aesthetic, considering size and complexity.
- Select durable stencil material, such as mylar or cardstock, and use sharp cutting tools for clean edges.
- Prepare your fabric by washing and ironing it to ensure a smooth surface for stenciling.
- Apply paint using a dabbing technique with a sponge or stencil brush to avoid seepage under the stencil edges.
Choosing Your Design
When choosing your design for fabric stencils, think about the overall look you want to achieve and consider your project's purpose. Are you aiming for something playful, elegant, or rustic? The design should reflect the vibe you want your finished piece to convey. For example, whimsical patterns like flowers or animals work well for children's items, while geometric shapes might suit modern home decor.
Next, consider the size of your stencil. A larger design can make a bold statement, while smaller patterns can add subtle detail. You should also think about the complexity of the design. Intricate patterns may look stunning but could be challenging to cut and paint, especially if you're a beginner. Simplicity often leads to cleaner results.
Don't forget to explore themes that resonate with your style or message. Nature, abstract art, or cultural symbols can all inspire unique designs.
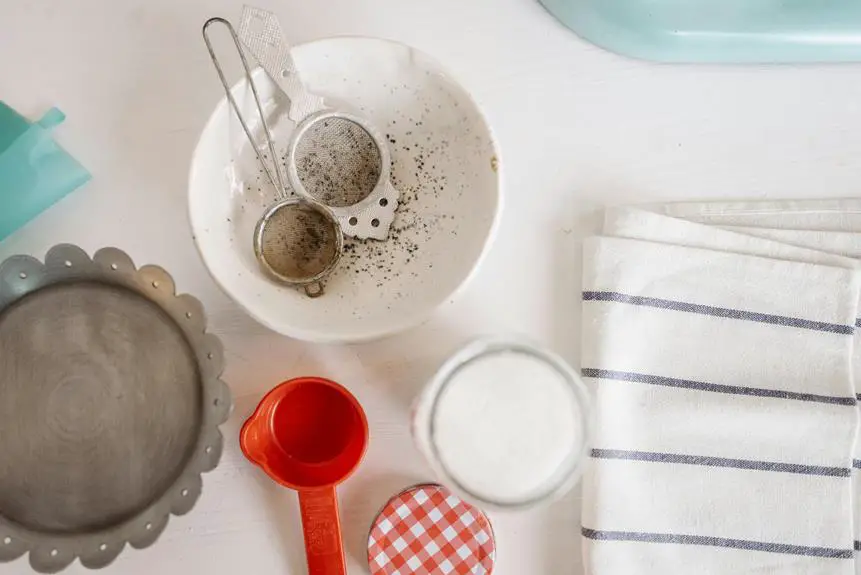
Materials You Will Need
To get started with making your fabric stencils, gather the right materials that will help you bring your design to life. First, you'll need a stencil material; mylar or cardstock works well, as they're both durable and easy to cut.
Next, grab a sharp craft knife or scissors to ensure clean edges on your stencil. A cutting mat will protect your workspace and keep your surfaces safe while you cut.
You'll also want to have a ruler and a pencil handy for measuring and marking your design accurately. If you're planning to use paint, pick up fabric paint or spray paint specifically designed for textiles. Remember to get a sponge or stencil brush for applying the paint smoothly.
Lastly, don't forget about your fabric! Choose a piece that's clean and prewashed to ensure the best results. If you're working with multiple colors, consider having extra stencils ready for layering.
Preparing the Stencil
When preparing your stencil, start by choosing a design that fits your project.
Next, select the right stencil material to ensure durability and ease of use.
Choosing Your Design
How do you decide on the perfect design for your fabric stencil? Start by considering the purpose of your project. Are you personalizing a tote bag, creating a unique wall hanging, or sprucing up a plain shirt? Your design should align with the intended use.
Next, think about the style you want to achieve. Do you prefer something bold and graphic, or soft and intricate? Browse through inspiration, like online galleries, DIY blogs, or even nature for ideas.
Once you have a few concepts in mind, sketch them out. This helps you visualize how the design will look on your fabric.
Keep in mind the scale of your stencil. What size will best fit your fabric piece? A larger design might make a statement, while a smaller one could offer subtle charm.
Selecting Stencil Material
Choosing the right stencil material is crucial for achieving clean, precise designs on your fabric. You'll want to consider durability, flexibility, and ease of use. Common materials include plastic, cardboard, and mylar.
Plastic stencils are popular because they're sturdy and can withstand multiple uses, making them ideal for repeated projects. Mylar is another excellent option; it's flexible yet robust, allowing for intricate designs without tearing.
If you're on a budget or just starting out, cardboard can work well for one-time use. However, keep in mind that it mightn't hold up as well if you plan to reuse the stencil. Whichever material you choose, ensure it's thick enough to prevent paint from bleeding underneath.
You should also think about the design you're creating. For intricate patterns, choose a material that allows for detailed cuts. If you're going for larger, simpler designs, a heavier material may suffice.
Ultimately, the best choice depends on your project needs and how often you plan to use the stencil. Consider experimenting with different materials to find what works best for you and your creative style.
Cutting Techniques Explained
Prepare your stencil by carefully cutting through the material with a sharp craft knife or scissors for clean, precise edges. The technique you choose will influence the quality of your stencil, so it's essential to be methodical.
Here are some tips to ensure a successful cutting process:
- Use a Cutting Mat: Protect your work surface and keep your blade sharp by using a cutting mat underneath.
- Steady Your Hand: Take your time and maintain a steady hand to prevent jagged edges or mistakes.
- Cut from the Inside Out: If your stencil has intricate designs, start from the inside and work your way out to minimize the risk of tearing.
Once you've cut out your design, inspect the stencil for any remaining bits that need trimming. A well-cut stencil will give you crisp lines and a professional finish when you apply it to your fabric.
Happy crafting!
Cutting Out the Stencil
Once you've traced your design onto the stencil material, grab a sharp craft knife or scissors to carefully cut it out. When cutting, take your time and focus on precision to ensure clean edges. If you're using a craft knife, work on a cutting mat to protect your surfaces and ensure safety.
Here's a quick reference table to help you decide which cutting tool to use:
| Tool | Best For | Tips |
|---|---|---|
| Craft Knife | Intricate designs | Use a steady hand |
| Scissors | Simple shapes | Opt for fabric scissors |
| Hole Punch | Small details | Choose the right size |
As you cut, remember to follow the lines closely, especially around curves or small details. If you make a mistake, don't stress; you can always adjust or start over. Once you've finished cutting, take a moment to check for any rough edges. A little sanding or trimming can make a big difference in the final outcome of your stencil. Happy cutting!
Applying the Stencil to Fabric
Now that you've cut out your stencil, it's time to apply it to your fabric.
You'll want to prepare the fabric surface, carefully position the stencil, and then apply the paint for the best results.
Let's walk through each step to ensure your design turns out perfectly.
Preparing the Fabric Surface
Ensuring the fabric surface is smooth and clean is crucial for achieving crisp, professional-looking stencil designs. To prepare your fabric effectively, follow these essential steps:
- Wash the fabric: Remove any dirt, oils, or finishes by washing it according to the manufacturer's instructions.
- Iron the fabric: Eliminate wrinkles and creases that could disrupt your design by ironing the fabric on the appropriate setting.
- Choose a stable surface: Work on a flat, sturdy surface to ensure that your stencil adheres correctly and stays in place during painting.
Positioning the Stencil
Carefully position the stencil on your fabric to ensure it aligns perfectly with your desired design. Start by identifying the center point of your fabric and the stencil. If your design has specific focal points, use those as guides. Hold the stencil in place with your hand, or use a few pieces of painter's tape to secure the edges. This prevents any movement while you work.
If you're stenciling on a larger piece of fabric, take a step back and visually assess the alignment from a distance. It's often easier to spot any misalignments that way. For added precision, consider using a measuring tape or ruler to ensure the stencil is evenly spaced from the edges of the fabric.
Once you're satisfied with the positioning, double-check that the fabric is smooth and wrinkle-free beneath the stencil. Any creases can distort your design, so smooth out any bumps before proceeding.
Applying the Paint
Once your stencil is securely in place, it's time to apply the paint using a sponge or brush for even coverage. Choose a fabric paint that suits your project, and make sure it's compatible with the type of fabric you're using.
Here's how to get the best results:
- Use a dabbing motion: This helps prevent paint from seeping under the stencil edges.
- Start with a small amount of paint: You can always add more if needed, but too much can create a messy finish.
- Test your technique: Try a small area first to ensure your approach works well on the fabric.
As you paint, keep an eye on the edges of the stencil to maintain a clean line. If you're using multiple colors, allow each layer to dry before applying the next.
Once you're satisfied with your design, let everything dry completely before handling the fabric. This way, your stenciled masterpiece will look sharp and vibrant!
Tips for Best Results
To achieve the best results with your fabric stencils, always choose high-quality materials and tools tailored for fabric painting. Start with a good stencil material that's sturdy yet flexible, allowing you to create crisp edges. If you're using a cutting machine, ensure the blade is sharp for clean cuts.
Next, select fabric paints that are specifically designed for textiles. These paints adhere better and resist fading after washing. When applying paint, use a foam brush or stencil brush for even coverage, and avoid overloading it to prevent bleed-through.
Before you start, practice on a scrap piece of fabric to test your technique and colors. Secure the stencil firmly to the fabric with painter's tape to ensure it doesn't shift during painting.
After applying the paint, lift the stencil carefully to avoid smudging. Allow the paint to dry completely before moving or washing the fabric. If you want a more durable design, consider heat-setting the paint according to the manufacturer's instructions.
Lastly, clean your stencil immediately after use to keep it in good condition for future projects. Happy crafting!
Frequently Asked Questions
Can I Reuse My Fabric Stencils Multiple Times?
Yes, you can definitely reuse your fabric stencils multiple times. Just make sure to clean them properly after each use. This way, you'll maintain their shape and ensure crisp designs every time you stencil.
What Types of Fabric Work Best With Stencils?
When stenciling, natural fabrics like cotton and linen work best. They absorb paint well, ensuring vibrant designs. Synthetic fabrics can be tricky; they might resist paint, so test them first to see how they react.
How Do I Clean My Stencils After Use?
After using your stencils, rinse them immediately with warm, soapy water. Gently scrub with a soft brush to remove any paint residue. Let them air dry completely before storing to keep them in good condition.
Can I Use Fabric Paint Instead of Spray Paint?
Yes, you can definitely use fabric paint instead of spray paint. Just make sure to apply it evenly with a brush or sponge for the best results. It'll adhere well and give your project a vibrant finish.
Are There Any Safety Precautions When Using Spray Adhesive?
When using spray adhesive, you should always work in a well-ventilated area, wear a mask, and protect your skin and eyes. It's crucial to follow the manufacturer's instructions for safe application and storage.