To get blended colors with the wet tie-dye technique, start by dampening your natural fabric evenly—wet but not dripping. Choose colors close on the color wheel for smooth blending. Apply your first dye gently, then add the second color overlapping slightly while working quickly to keep the fabric wet. Use light, sweeping motions to encourage natural color mingling. Proper fabric prep and dye application are key to vibrant blends, and there’s more to discover for flawless results.
Key Takeaways
- Dampen natural fiber fabric evenly until wet but not dripping for optimal dye blending.
- Choose adjacent colors on the color wheel to ensure smooth, harmonious color transitions.
- Apply dye in moderate amounts with overlapping strokes to encourage gentle color merging.
- Use light, sweeping motions while fabric is wet to blend colors naturally without harsh lines.
- Keep the fabric wrapped in plastic and damp for 6–24 hours to set blended colors effectively.
Preparing Your Fabric for Wet Tie-Dye
Before you begin applying colors, you need to prepare your fabric properly for wet tie-dye. Start by selecting a natural fiber fabric like cotton, as it absorbs dye better.
Wash your fabric without fabric softener to remove any sizing or oils that might block dye absorption. Next, dampen the fabric evenly with water; it should feel wet but not dripping. This moisture is essential because it allows the dye colors to blend smoothly and create those beautiful gradients you want.
After dampening, lay your fabric flat or twist it according to your design. Make sure to work quickly while the fabric stays wet, as drying too soon can hinder the blending effect.
Proper preparation sets the stage for vibrant, seamless color changes in your tie-dye.
Selecting the Right Dye Colors for Blending
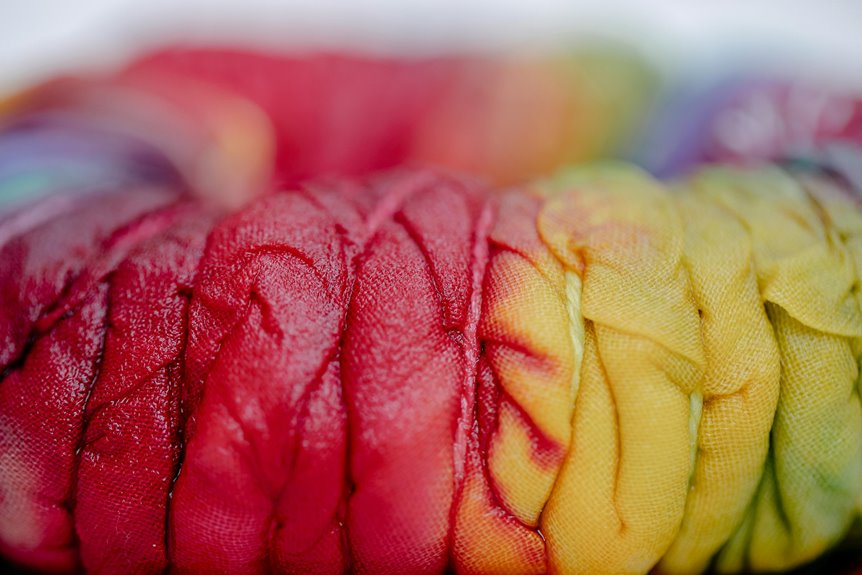
How do you choose the perfect dyes to create smooth blends in your wet tie-dye project? Start by selecting colors that sit close to each other on the color wheel, like blues and purples or reds and oranges. These hues naturally blend well, making your shifts seamless.
Avoid pairing colors that clash or create muddy tones when mixed, such as green and red. Consider the intensity of each dye; lighter shades blend more subtly, while bold colors offer striking contrasts.
Also, think about your fabric’s base color—white or light fabric lets your chosen dyes shine brightest. By thoughtfully picking your dye colors, you set the foundation for beautiful, fluid blends that define the wet tie-dye technique’s unique appeal.
Techniques for Wetting and Folding Fabric
When you wet your fabric, it becomes more receptive to dye, allowing colors to blend smoothly and create that signature wet tie-dye effect.
Begin by soaking your fabric thoroughly in water until it’s evenly damp but not dripping. Excess water can dilute dyes too much, so gently wring out any puddles.
Next, choose your folding method based on the pattern you want—accordion folds, spirals, or crumples all work well. Be sure to keep folds tight and consistent to control how colors merge.
Applying Dye to Achieve Smooth Color Transitions
Although applying dye to wet fabric requires a careful touch, it gives you the control needed to create smooth, seamless color shifts.
Begin by loading your applicator with a moderate amount of dye—too much will cause bleeding, too little won’t blend well. Apply the first color gently, letting it soak in without oversaturating.
Load your applicator moderately; too much dye bleeds, too little won’t blend smoothly.
Then, while the fabric is still wet, add the second color just where you want the shift, slightly overlapping the first. Use light, sweeping motions to encourage the colors to mingle naturally.
Avoid pressing too hard, or you’ll disturb the fabric’s wetness unevenly. Work quickly but deliberately, as drying fabric won’t blend as well.
This technique lets you achieve those beautiful, gradual fades that make wet tie-dye so striking.
Setting and Caring for Your Wet Tie-Dye Creations
Since wet tie-dye relies on moisture for smooth color blending, setting your design properly is essential to preserve those vibrant hues.
Once you’ve applied the dye, wrap your fabric in plastic to keep it damp and let it sit for 6 to 24 hours. This resting period allows the colors to fully absorb and blend.
Afterward, rinse your fabric gently with cold water until the water runs clear to remove excess dye. Wash your creation separately in cold water using a mild detergent to prevent colors from bleeding.
Finally, air dry your piece away from direct sunlight to maintain color intensity.
Frequently Asked Questions
Can I Use Natural Dyes for the Wet Tie-Dye Technique?
You can definitely use natural dyes for wet tie-dye! They blend beautifully when the fabric is damp, giving you those soft, organic color shifts you want. Just remember natural dyes may need mordants for lasting vibrancy.
How Long Does the Blending Process Take to Complete?
The blending process usually takes about 10 to 30 minutes, depending on how saturated your fabric is. You’ll want to monitor colors closely to achieve the perfect gradient before the dyes start drying and setting.
What Types of Fabric Work Best for Wet Tie-Dye Blending?
You’ll find that natural fibers, like cotton and rayon, play nicely with wet tie-dye blending, giving you those dreamy, seamless colors. Synthetic fabrics might resist, so stick to materials that soak up dye warmly and evenly.
Can I Mix Different Dye Brands When Blending Colors?
You can mix different dye brands when blending colors, but be cautious. Different formulas might react unpredictably, affecting color vibrancy or fabric. Test on a small piece first to ascertain the results meet your expectations.
How Do Temperature and Humidity Affect the Wet Tie-Dye Outcome?
Did you know 70% of crafters say humidity impacts dye results? You’ll find higher humidity slows drying, causing colors to blend more, while temperature speeds drying. Adjust both to control your wet tie-dye’s final look.