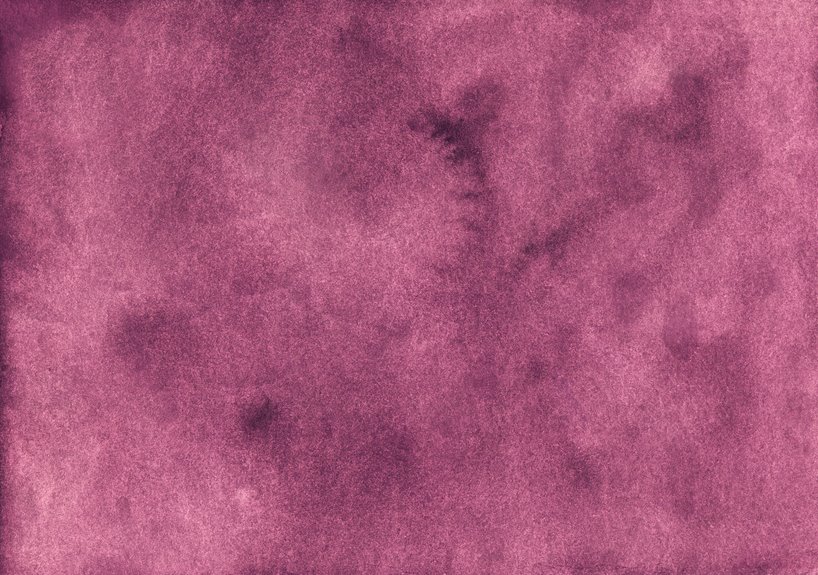
To create an ombre gradient on any fabric, start by choosing natural fibers like cotton or silk for even dye absorption. Pre-wash your fabric to remove finishes, then prepare multiple dye solutions with varying intensities. Apply these carefully in sections, blending colors smoothly for a seamless gradient. After dyeing, set the color with heat, rinse gently, and air dry. With the right steps, you’ll get vibrant results that last—explore the details to perfect your technique.
Key Takeaways
- Choose natural fibers like cotton or silk for smooth, even dye absorption and clear ombre gradients.
- Pre-wash fabric to remove finishes and ensure consistent dye uptake before starting the ombre process.
- Mix dye solutions with varying concentrations to create gradual color transitions for an effective gradient.
- Apply dye gradually using a spray bottle or sponge in sections, blending colors smoothly for seamless ombre effects.
- Set the dye with heat, rinse gently in cool water, and air dry away from sunlight to maintain vibrant ombre colors.
Choosing the Right Fabric for Ombre Dyeing
Fabric choice plays an essential role when creating an ombre gradient, as not all materials absorb dye the same way. You’ll want to pick natural fibers like cotton, linen, silk, or wool because they soak up dye evenly, giving you a smooth blending.
Synthetic fabrics, such as polyester or nylon, resist dye or require special dyes, making the process trickier. Also, consider fabric texture: smoother fabrics show gradients more clearly, while rougher weaves might blur the effect.
Pre-wash your fabric to remove finishes that repel dye, ensuring consistent absorption. Finally, lighter-colored fabrics work best, as darker ones can mask the subtle shifts in color you’re aiming for.
Selecting Colors and Dye Types
When you choose colors and dye types carefully, you can create a vibrant and smooth ombre effect that truly stands out. Start by selecting colors that blend well together, such as analogous or complementary shades, for a seamless gradient.
Next, consider the type of dye based on your fabric: fiber-reactive dyes work best for natural fibers like cotton, while acid dyes suit silk and wool.
Finally, test your color combinations on a small fabric swatch to verify the hues shift smoothly and maintain vibrancy.
Always test color blends on a small fabric swatch to ensure smooth, vibrant transitions before committing.
Here’s a quick guide:
- Pick harmonious colors for a smooth gradient.
- Match dye type to fabric fiber for peak absorption.
- Conduct color tests on fabric scraps before dyeing the main piece.
This approach sets the stage for a flawless ombre finish.
Preparing Your Workspace and Materials
After choosing your colors and dyes, getting your workspace and materials ready will help you work efficiently and keep your fabric clean.
Start by covering your surface with plastic or old newspapers to protect against spills. Set up near a water source for easy cleanup.
Gather all your supplies: gloves, measuring cups, stir sticks, and containers for mixing dyes. Have your fabric support ready—like a drying rack or clothesline.
Make certain you wear old clothes or an apron to avoid stains. Organize your dyes and tools within reach to maintain a smooth workflow.
Good lighting will also help you see color shifts clearly. Taking these steps guarantees a safe, tidy environment, letting you focus on creating a beautiful ombre gradient with confidence.
Pre-Washing and Preparing the Fabric
Choose a natural fabric like cotton for the best ombre results, since synthetic fibers may not absorb dye evenly.
Before you start, always pre-wash your fabric to remove any finishes or dirt that could block the dye.
Make sure to dry it completely or keep it damp, depending on the dyeing method you’ll use.
Fabric Type Selection
Selecting the right fabric is essential for achieving a smooth ombre gradient. Different materials absorb dye uniquely, affecting your final look. To guarantee the best results, consider these factors:
- Fiber Content: Natural fibers like cotton, silk, and linen absorb dye more evenly and vibrantly than synthetic fibers. Choose fabrics with high natural fiber content for richer gradients.
- Weave and Texture: Smooth, tightly woven fabrics allow for more consistent dye application. Rough or textured fabrics can create uneven color shifts.
- Fabric Weight: Lightweight fabrics tend to blend colors softly, perfect for subtle ombre effects. Heavier fabrics may require more dye and attention to avoid harsh lines.
Washing and Drying Tips
Because dye adheres best to clean, untreated fabric, you should always pre-wash your material before starting your ombre project. This removes any sizing, dirt, or oils that might block the dye from soaking in evenly.
Use a mild detergent and skip fabric softeners—they can leave residues that interfere with dye absorption. After washing, dry your fabric thoroughly, preferably air-drying to avoid shrinkage, but a low-heat setting in the dryer works if you’re in a hurry.
Make certain the fabric is completely dry before dyeing; moisture can dilute the dye and cause uneven color. Taking these simple washing and drying steps guarantees your ombre gradient turns out vibrant and smooth, giving you a professional, long-lasting result.
Mixing Your Dye Solutions
You’ll start by choosing your dye colors carefully to guarantee a smooth ombre effect.
Next, prepare different gradient ratios by mixing varying amounts of dye with water.
Finally, adjust the dye concentrations to control the intensity of each shade.
Choosing Dye Colors
Anyone can create stunning ombre effects by carefully choosing and mixing dye colors.
To get the best results, start by selecting colors that blend smoothly. Here’s how to approach it:
- Pick a Base Color: Choose a color that fits your desired theme or mood. This will be the darkest shade in your gradient.
- Select Complementary Hues: Find one or two lighter shades or tints of your base color. These will create the gradient’s shift.
- Mix Gradually: Prepare your dye solutions with increasing dilution or lightness. This guarantees a seamless fade from dark to light.
Preparing Gradient Ratios
After selecting your dye colors, it’s time to create the right mixtures that will produce a smooth gradient.
Start by preparing a series of dye solutions with varying ratios, blending your chosen colors with water or a base liquid. For example, if you’re working with two colors, mix them in increments like 25% color A/75% color B, 50%/50%, and 75%/25%.
Label each mixture clearly. This step guarantees you have a gradual shift between shades when applying the dye. Use measuring cups or spoons to keep your ratios consistent.
Remember, the goal is to shift smoothly from one hue to the next, so precise mixing is key.
Once your solutions are ready, you’ll be set for the next step—applying the dye to your fabric.
Adjusting Dye Concentrations
How can you guarantee each shade in your ombre gradient stands out perfectly? It all comes down to adjusting dye concentrations carefully. You want smooth shifts without harsh lines. Here’s how to mix your dye solutions effectively:
- Start with a base concentration: Mix a strong dye solution as your darkest shade, using the manufacturer’s recommended ratio as a guide.
- Dilute progressively: For each lighter shade, dilute the base solution with more water. For example, 75%, 50%, then 25% dye concentration for a gradual fade.
- Test before dyeing: Always dip a scrap piece of fabric to check the shade. Adjust by adding more dye or water until you get the desired gradient effect.
Applying the Dye to Create the Ombre Effect
Start by preparing your workspace and laying out the fabric flat to guarantee even dye application.
Begin dipping the fabric’s edge into the most concentrated dye, holding it there for a few seconds to absorb color fully. Gradually lift the fabric and slowly lower it deeper, pausing less as you move upward to create a smooth shift.
For the middle section, dip the fabric briefly in a diluted dye, blending it seamlessly with the darker bottom.
Finally, dip the top portion lightly or not at all, depending on how light you want the fade. Use a spray bottle or brush to soften any harsh lines by lightly misting the shifts.
Work quickly but carefully, ensuring the gradient flows evenly from dark to light.
Setting the Dye and Rinsing the Fabric
Once you’ve achieved a smooth ombre effect on your fabric, the next step is to lock in the color so it lasts. Setting the dye properly secures your gradient stays vibrant and won’t fade easily. Here’s how to do it:
1. Heat Set the Dye: Use a heat source like an iron or a dryer to fix the dye. If using an iron, place a cloth between the iron and fabric, pressing for 3-5 minutes.
For dryers, tumble dry on high for 30 minutes.
2. Rinse Gently: Rinse the fabric in cool water to remove excess dye. Avoid harsh scrubbing to preserve your gradient.
3. Dry Carefully: Hang your fabric to air dry away from direct sunlight to prevent fading.
Following these steps assures your ombre design remains stunning and long-lasting.
Tips for Maintaining Your Ombre Fabric’s Vibrancy
Even though you’ve set the dye carefully, you’ll need to take ongoing steps to keep your ombre fabric looking vibrant.
Always wash it in cold water to prevent fading, and use a mild detergent designed for colored fabrics. Avoid bleach or harsh chemicals that can strip the dye.
When drying, air dry your fabric away from direct sunlight to minimize color fading. If you must machine dry, use a low heat setting.
Store your ombre fabric in a cool, dark place to protect it from light exposure. Also, try to wash it separately or with similar colors to avoid dye transfer.
Following these tips will help maintain the beautiful gradient and keep your fabric looking fresh for a long time.
Frequently Asked Questions
Can I Use Ombre Dye Techniques on Synthetic Fabrics?
Can you use ombre dye techniques on synthetic fabrics? Absolutely, but synthetic fibers can be stubborn. You’ll need special dyes like disperse dye and heat setting to get that smooth gradient, so don’t expect the same results as natural fibers.
How Long Does the Ombre Dyeing Process Take From Start to Finish?
The ombre dyeing process usually takes about 2 to 4 hours, including prepping, dyeing, and rinsing. Drying time varies depending on fabric type, but you can speed it up with a fan or dryer.
What Safety Precautions Should I Take When Handling Fabric Dyes?
Picture vibrant dye splashes—protect yourself by wearing gloves, a mask, and old clothes. Work in a well-ventilated space to avoid fumes. Keep dyes away from your eyes and mouth, and clean spills immediately.
Can I Fix Color Mistakes After the Dye Has Dried?
You can fix color mistakes after dye dries by gently washing the fabric or using color removers designed for fabric. Just be cautious, as results vary, and some colors might not fully lift or correct easily.
Is It Possible to Create an Ombre Effect Without Fabric Dye?
Imagine painting a sunset with crayons—you can create an ombre effect without fabric dye by using fabric paint, markers, or even tea staining. These alternatives let you blend colors smoothly on fabric, no dye needed.