To age and distress suede, start by gently brushing off dirt and dust without using water to avoid damage. Lightly scuff the fabric with fine-grit sandpaper or a suede brush, focusing on natural wear spots like edges. Mist the suede lightly with water, then use low heat to dry it, enhancing softness and patina. Finish by protecting the suede with a spray to maintain its worn look over time. Keep exploring to discover more tips for perfecting your suede’s vintage charm.
Key Takeaways
- Gently clean suede with a soft brush, avoiding water, and let it dry completely before distressing.
- Lightly scuff the surface using fine-grit sandpaper or a suede brush, focusing on natural wear areas.
- Add small scratches or creases with a soft, blunt object, then soften harsh marks with a suede brush.
- Mist suede lightly with water, blot excess moisture, and dry with low heat to soften fibers for aging.
- Protect and maintain distressed suede regularly with a suede brush, eraser, and protective spray to preserve texture.
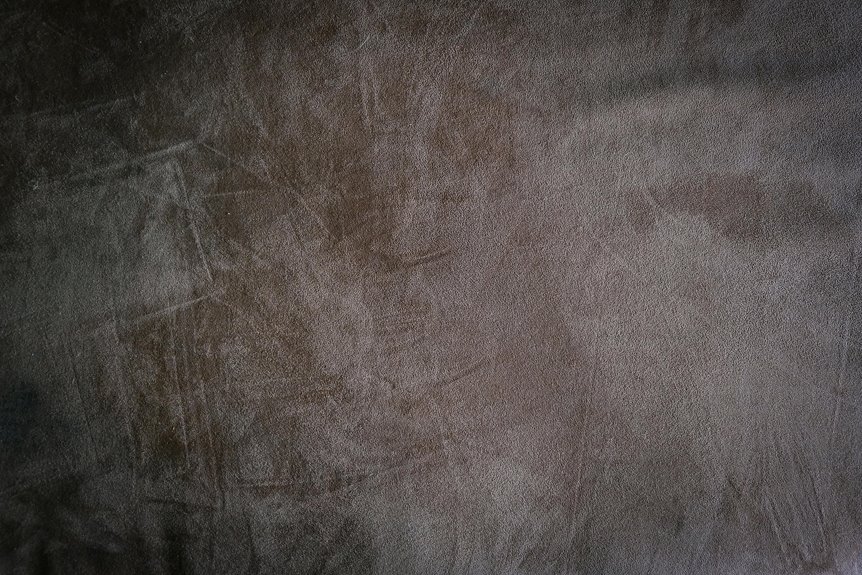
Understanding Suede Fabric and Its Properties
Although suede looks delicate, it’s actually a type of leather made from the underside of animal hides, giving it a soft, napped finish. You’ll notice that suede feels velvety and has a subtle texture that changes with the direction of the nap.
This fabric is breathable and flexible but can be sensitive to water, stains, and abrasion. When you handle suede, you’ll want to be gentle to avoid crushing its fibers or causing marks.
Its porous nature means it absorbs oils and dirt quickly, so regular maintenance is key. Understanding these properties helps you treat suede with care and prepares you for the aging and distressing process, ensuring you achieve the right look without damaging the material.
Preparing Your Suede for Aging and Distressing
Before you start aging and distressing your suede, you need to prepare the fabric properly to guarantee the best results.
Begin by cleaning the suede gently with a soft brush or cloth to remove any dust and dirt. Avoid using water, as it can damage the material.
Gently brush suede to remove dust—never use water, which can harm the delicate fabric.
Next, make certain the suede is completely dry and lay it flat on a clean surface. This prevents unwanted creases or folds during the distressing process.
If your suede has a nap (the fuzzy surface), brush it lightly in one direction to maintain consistency.
Also, consider testing your aging techniques on a small, inconspicuous area first to see how the fabric reacts.
Proper preparation sets the foundation for achieving a natural, worn look without damaging your suede.
Tools and Materials Needed for Distressing Suede
Once your suede is clean and prepped, gather the right tools and materials to start distressing. Having the proper items on hand makes the process smoother and guarantees you get the desired aged look without damaging the fabric.
Here are the essentials you’ll need:
- Fine-grit sandpaper or a suede brush – For gently roughening the surface without tearing fibers.
- Soft cloth or sponge – To apply any conditioning oils or water for subtle texture changes.
- Protective gloves – To keep your hands clean and prevent oils from transferring to the suede.
With these tools, you’ll be ready to begin aging your suede carefully and effectively, creating a natural, worn appearance that enhances the fabric’s character.
Techniques to Gently Scuff and Scratch Suede
Start by lightly scuffing the suede with fine-grit sandpaper or a suede brush to create subtle texture variations.
Work in small, gentle strokes to avoid damaging the fabric. Focus on areas that naturally experience wear, like edges and corners, for a realistic look.
You can also use a soft, blunt object, such as the back of a spoon, to add small scratches or creases by pressing and dragging lightly across the surface.
Remember to test these techniques on a hidden area first to gauge the effect. Avoid pressing too hard; you want to enhance the suede’s character, not ruin it.
Finally, run a suede brush over the distressed spots to blend and soften any harsh marks, maintaining the fabric’s soft feel while achieving that aged appearance.
Using Sandpaper and Abrasive Tools Safely
When using sandpaper or other abrasive tools on suede, start by picking a fine grit to avoid damaging the fabric.
You’ll also want to protect your work area with a drop cloth or old newspaper to catch any debris.
Taking these precautions helps you distress your suede safely and effectively.
Choosing the Right Grit
Anyone looking to age and distress suede fabric effectively needs to choose the right grit of sandpaper or abrasive tool. The grit determines how much material you remove and how natural the distressing looks.
Using too coarse a grit can damage the fabric, while too fine won’t create enough texture. Here’s how to pick:
- Start with a medium grit (around 120-150) to roughen the surface without tearing the suede.
- Move to a finer grit (220-320) to smooth harsh edges and blend distressed areas naturally.
- Use extra-fine grit (400+) sparingly for subtle finishing touches or to remove excess fuzz.
Protecting Your Work Area
A well-prepared work area keeps your suede project safe and your tools effective. Before using sandpaper or abrasive tools, clear your space to avoid accidental damage or dirt contamination. Lay down a protective mat or old cloth to catch debris. Always wear a dust mask and safety glasses to protect yourself from particles. Keep your tools organized and within reach to prevent unnecessary movement that could harm the fabric.
| Safety Tip | Reason | Tool Suggestion |
|---|---|---|
| Use dust mask | Protect lungs from dust | Disposable masks |
| Wear safety glasses | Shield eyes from debris | Safety goggles |
| Cover work surface | Prevent fabric stains | Protective mat |
Applying Water and Heat for a Worn Look
Before you apply water and heat, make sure your suede surface is clean and dry.
You’ll want to use controlled amounts of water to avoid soaking the fabric, and then gently apply heat to speed up the aging process.
Be careful with the temperature to prevent any damage while achieving that worn look.
Preparing Suede Surface
Start by lightly misting the suede surface with water to soften the fibers and make them more pliable. This step preps the fabric for aging and distressing, ensuring the effects you apply blend naturally.
Once the suede is damp, follow these steps:
- Blot gently with a clean cloth to remove excess moisture without saturating the fabric.
- Apply controlled heat using a hairdryer on low setting, moving it evenly to avoid overheating any spot.
- Allow the suede to air dry completely in a well-ventilated area, which helps set the softened texture for distressing.
Techniques for Applying Water
Once your suede is softened and dried, you can begin applying water strategically to create that worn, vintage look.
Use a spray bottle to mist water lightly over areas where natural wear would occur, like edges and seams. Avoid soaking the fabric; subtle dampness works best. You can also dab water with a sponge or cloth to focus on small patches. This uneven application helps mimic genuine aging.
After applying water, let the suede air dry completely. The fabric will stiffen slightly, enhancing the distressed effect.
Using Heat Safely
Although applying heat requires caution, it plays an essential role in deepening the distressed look on your suede.
To use heat safely, follow these steps carefully:
- Dampen Lightly: After applying water, lightly mist the suede—avoid soaking it—to prepare the fibers for heat without damage.
- Use Low Heat: Set your hairdryer or heat source to a low setting. High heat can scorch or harden the suede, ruining the texture.
- Keep Moving: Constantly move the heat source around, never holding it in one spot for too long. This prevents uneven drying and potential burns.
Enhancing Color Changes and Patina on Suede
When you want to bring out the natural beauty of suede, enhancing its color changes and patina is key. Start by gently rubbing the surface with a soft cloth or suede brush to lift the nap and reveal subtle color shifts.
You can also apply a light mist of water to deepen the suede’s hue temporarily, allowing it to develop a richer tone as it dries unevenly. For a vintage look, lightly sand areas with fine-grit sandpaper, focusing on edges and high-wear spots to create natural-looking wear patterns.
Avoid overdoing it—you want to highlight the fabric’s character without damaging it. These techniques help you achieve that coveted aged appearance, adding depth and personality to your suede pieces while maintaining their supple texture.
Caring for Distressed Suede to Maintain Its Appearance
To keep your distressed suede looking its best, you’ll need to care for it carefully and consistently.
First, avoid water exposure as much as possible; moisture can damage the suede’s texture and cause stains.
Second, use a suede brush regularly to remove dirt and restore the nap, brushing gently in one direction to maintain the fabric’s distressed charm.
Third, apply a suede protector spray to shield your fabric from stains and spills, reapplying every few months for ongoing protection.
If stains do occur, address them immediately with a suede eraser or a clean cloth, avoiding harsh chemicals.
Frequently Asked Questions
Can You Distress Suede at Home Without Professional Tools?
You can distress suede at home without professional tools by gently rubbing with a soft brush or sandpaper, applying heat carefully, and using natural wear methods. Just be cautious to avoid damaging the fabric permanently.
How Long Does It Take for Suede to Naturally Age?
You might think suede naturally ages quickly, but it actually takes months or even years for genuine patina to develop. Environmental factors like sunlight and wear speed up the process, so patience’s key if you want authentic aging.
Is Distressing Suede Reversible if You Make a Mistake?
You can’t fully reverse distressing on suede if you make a mistake, but you can try gently brushing with a suede brush to restore texture. Some stains or marks might be reduced, but complete repair is unlikely.
What Types of Suede Are Best for Distressing?
You’ll find that nubuck and split suede work best for distressing because their texture easily shows wear. Avoid delicate or smooth-suede types since they can damage or lose softness when distressed. Choose wisely!
Can Distressing Suede Affect Its Waterproof Qualities?
Imagine your suede like a delicate raincloud; distressing it can create tiny cracks and openings, letting water sneak through. So yes, if you rough it up, you’ll likely weaken its waterproof shield and need extra protection.