To scale your tie-dye from t-shirts to tapestries, start by choosing natural, durable fabrics like cotton or rayon for vibrant colors. Set up a spacious, protected workspace with large squeeze bottles and heavy-duty rubber bands to handle bigger folds and bold patterns. Use strategic folding and color zones to control dye application across the fabric. Master these basics now, and you’ll reveal techniques for flawless blends, stunning designs, and professional finishing touches on large pieces.
Key Takeaways
- Select natural, durable, and loosely woven fabrics like cotton or rayon for vibrant colors and easier manipulation on large tapestry projects.
- Use large squeeze bottles and heavy-duty rubber bands to apply dye precisely and secure fabric tightly for sharp, scalable patterns.
- Plan and divide the tapestry into zones for controlled dye application, ensuring even color saturation and avoiding muddiness.
- Combine multiple folding techniques such as accordion and spiral folds to create complex, large-scale geometric or nature-inspired designs.
- Pre-soak fabric in soda ash and allow extended dye setting time to achieve deep, vibrant colors suitable for bulky tapestry materials.
Choosing the Right Fabric for Large-Scale Tie-Dye
Fabric choice plays an essential role when you’re planning large-scale tie-dye projects. You want a fabric that absorbs dye well and holds vibrant colors over time.
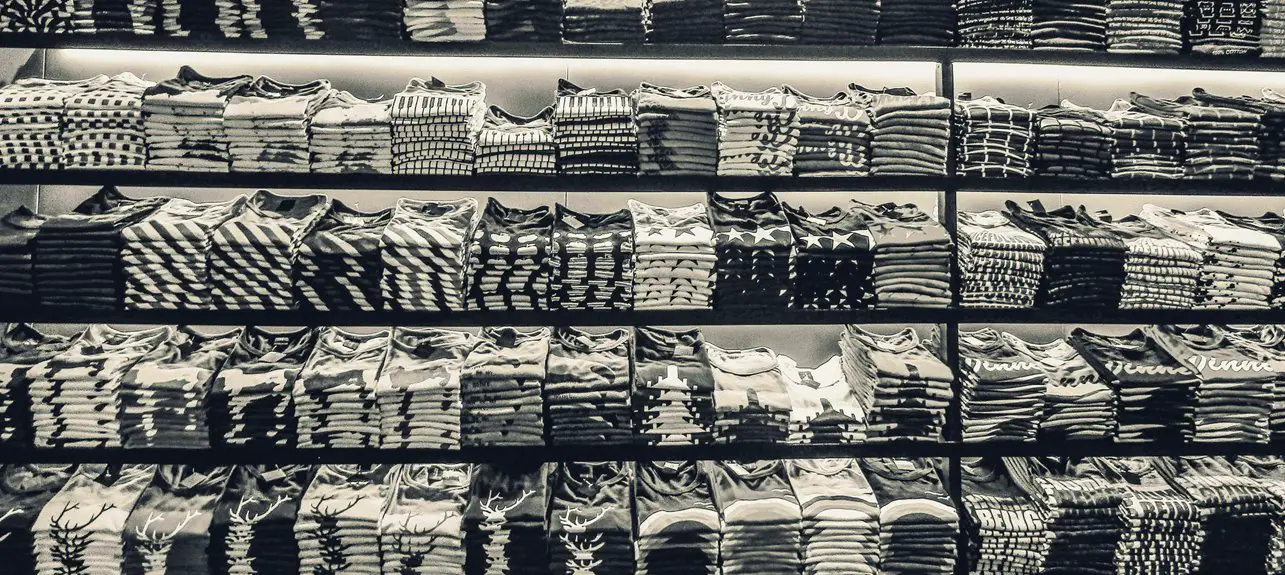
Natural fibers like cotton, rayon, and silk are your best bets because they soak up dye evenly and produce bright, lasting patterns. Avoid synthetic fabrics like polyester, which resist dye and can result in dull or patchy designs.
Also, consider the fabric’s weight and weave; lighter, loosely woven materials allow dye to penetrate more deeply, enhancing color intensity. If you’re working with bulky pieces, like tapestries or curtains, choose fabrics that are easy to manipulate and durable enough to handle scrunching, folding, or tying.
Picking the right fabric sets the foundation for your project’s success.
Preparing Your Workspace for Bigger Projects
When tackling bigger tie-dye projects, you’ll need to organize your materials so everything is within reach and easy to find.
Make sure your workspace has proper ventilation to keep the air fresh and safe while you work.
These steps will help you stay efficient and comfortable throughout the process.
Organizing Your Materials
Before diving into a larger tie-dye project, gather at least five essential items: dyes, rubber bands, squeeze bottles, gloves, and a protective surface cover. Organize these materials for easy access and efficiency. Use containers or trays to keep everything neat and prevent spills. Label your squeeze bottles with dye colors to avoid confusion. Lay out gloves within reach so you can quickly protect your hands.
| Item | Tip |
|---|---|
| Dyes | Pre-mix and label clearly |
| Rubber Bands | Sort by size in small bowls |
| Squeeze Bottles | Fill and label before starting |
| Gloves | Keep extras handy |
This setup minimizes interruptions, letting you focus on creativity while working larger projects smoothly.
Ensuring Proper Ventilation
Since tie-dye dyes release fumes that can irritate your eyes and lungs, you’ll want to set up your workspace with proper ventilation.
This step is essential, especially when working on larger projects that require more dye and longer drying times.
To guarantee a safe and comfortable environment, follow these tips:
- Work near open windows or doors to allow fresh air to circulate.
- Use fans to increase airflow, directing fumes away from you.
- Consider wearing a mask designed to filter chemical particles.
- Avoid enclosed spaces like basements without ventilation systems.
Essential Tools and Supplies for Tapestry Tie-Dye
To create vibrant tapestry tie-dye, you’ll need the right dye types and quality fabrics that hold color well.
Choosing the perfect fabric and preparing your tools carefully can make all the difference in your final design.
Let’s explore the essential supplies and tips to get your project started successfully.
Must-Have Dye Types
Choosing the right dyes can make or break your tapestry tie-dye project. To achieve vibrant, lasting colors, you need to pick dyes suited for large fabric surfaces and varied textures.
Here are four must-have dye types for your toolkit:
- Fiber Reactive Dyes – Perfect for cotton or cellulose fibers, offering bright, permanent colors.
- Acid Dyes – Ideal if you’re working with silk or wool, providing rich, deep hues.
- All-Purpose Dyes – Convenient for beginners, but less vibrant and durable than fiber reactive or acid dyes.
- Natural Dyes – Great for eco-friendly projects, using plant-based materials for subtle, earthy tones.
Each dye type brings unique qualities to your tapestry, so choose based on fabric and desired effects.
Fabric Selection Tips
Your dye choice plays a big role in how your tapestry turns out, but the fabric you pick is just as important.
Natural fibers like cotton, linen, and rayon absorb dye more effectively, resulting in vibrant colors and clear patterns. Avoid synthetic fabrics like polyester, as they repel most dyes and produce dull results.
When selecting your fabric, consider its weight too—medium to heavy-weight fabrics hold dye well and provide durability, perfect for tapestries. Pre-wash the fabric to remove any finishes or sizing that might block dye absorption.
Also, choose a fabric size that fits your project, giving you enough room to experiment with folds and twists. Picking the right fabric sets the foundation for stunning tie-dye tapestries.
Essential Dyeing Tools
Essential dyeing tools form the backbone of any successful tapestry tie-dye project. Having the right supplies guarantees your colors pop and your designs come to life.
When scaling up from t-shirts to larger tapestries, you’ll want to be well-prepared. Here are four essential tools to get you started:
- Large Squeeze Bottles – They help you apply dye precisely and manage larger surface areas efficiently.
- Heavy-Duty Rubber Bands – These keep fabric tightly bound, creating sharp patterns on thick tapestry fabric.
- Protective Gloves – Protect your hands from stains and skin irritation during the dyeing process.
- Plastic Tarps or Drop Cloths – Shield your workspace from dye spills and make cleanup easier.
Equip yourself with these tools, and you’ll be ready to create vibrant, eye-catching tie-dye tapestries.
Techniques for Folding and Binding Large Fabrics
When working with large fabrics, mastering folding and binding techniques is key to creating bold, eye-catching tie-dye patterns.
Start by laying your fabric flat and smoothing out wrinkles. Experiment with classic folds like accordion, spiral, or bullseye, adapting their size to suit larger surfaces. Use sturdy rubber bands or strong string to secure your folds tightly, ensuring the dye penetrates unevenly for vibrant contrasts.
Don’t hesitate to combine multiple folds for complex designs. Remember, the tighter the binding, the more white space you’ll preserve.
For extensive pieces, work in sections to maintain control and consistency. With practice, you’ll handle large fabrics confidently, turning simple folds into stunning, dynamic tapestries that showcase your tie-dye skills on a grand scale.
Mastering Color Application on Expansive Surfaces
Although applying dye to large fabrics can feel overwhelming, mastering color placement is essential for achieving vibrant, balanced results.
Mastering color placement is key to vibrant, balanced results when dyeing large fabrics.
To tackle expansive surfaces confidently, follow these steps:
- Plan Your Palette: Choose a limited color scheme to avoid muddiness and maintain harmony across the fabric.
- Use Squeeze Bottles Strategically: Control dye flow by applying it in sections, allowing you to target specific areas without oversaturating.
- Work in Zones: Divide the fabric mentally or with light folds to apply colors evenly, ensuring consistent coverage.
- Rotate and Inspect Frequently: Turn the fabric as you work to spot any blank spots or color overlaps that need adjusting before setting the dye.
Creating Gradient Effects on Large Canvases
Once you’ve got a handle on applying colors evenly across large fabrics, you can start exploring gradient effects to add depth and movement to your designs.
Begin by selecting two or three colors that blend well together. Apply the darkest shade first at one end of your fabric, then gradually lighten the pressure and amount of dye as you move toward the next color.
Overlap the colors slightly where they meet to create a smooth shift. Use a spray bottle or sponge for softer gradients, allowing colors to bleed gently.
Rotate and reposition your fabric to guarantee even coverage and prevent harsh lines. Remember to work quickly to keep dyes wet, which helps seamless blending.
This technique transforms your large canvases into dynamic, flowing artworks.
Experimenting With New Patterns Beyond the Classic Swirl
You can step outside the classic swirl by trying geometric tie-dye patterns that bring sharp lines and shapes into your designs.
Nature-inspired dye patterns, like leaf imprints or wave motifs, add an organic feel that’s both fresh and unique.
Experimenting with these styles lets you create bold, new looks that stand out.
Exploring Geometric Tie-Dye
When you move beyond the classic swirl, geometric tie-dye opens up a world of sharp lines and bold shapes that bring a modern twist to this traditional craft.
You can create eye-catching designs by folding and binding your fabric in precise ways. Here’s how to get started:
- Fold your fabric into triangles, squares, or rectangles for clean edges.
- Use rubber bands or string tightly to define sharp lines and sections.
- Apply dye carefully within each bound area to keep colors distinct.
- Experiment with layering folds to combine shapes and create complex patterns.
Nature-Inspired Dye Patterns
Although classic swirls remain popular, nature-inspired dye patterns offer fresh, organic designs that bring vibrant life to your fabric. You can mimic leaves, waves, or even animal prints by folding and binding your cloth strategically.
Try pinching sections to create vein-like patterns or use rubber bands to simulate bark textures. Experiment with earthy colors—greens, browns, blues—to enhance the natural vibe.
Don’t hesitate to combine multiple techniques, like crumpling for texture and scrunching for depth. Nature’s randomness allows you to embrace imperfections, making each piece unique.
Tips for Achieving Vibrant Colors on Thick Fabrics
Because thick fabrics absorb dye differently than lighter materials, achieving vibrant colors requires a few specialized techniques.
You’ll want to maximize dye penetration and retention to keep your colors bold and rich.
- Pre-soak in soda ash solution: This helps the fabric absorb dye evenly and intensifies color vibrancy.
- Apply dye generously: Thick fabrics need more dye, so saturate your design thoroughly to avoid dull spots.
- Use high-quality fiber-reactive dyes: These dyes bond better with cotton and other natural fibers, ensuring lasting brightness.
- Allow extended setting time: Let your fabric sit longer before rinsing to deepen the color saturation.
Follow these tips, and your tie-dye projects on thick materials will pop with vivid, eye-catching hues every time.
Drying and Setting Dye on Oversized Pieces
Handling oversized tie-dye projects demands extra care during the drying and setting phases to preserve your design’s vibrancy and prevent color bleeding.
First, avoid folding or stacking your piece while wet; instead, spread it flat or hang it using wide, padded hangers to support its weight evenly. This prevents unwanted creases and marks.
To set the dye, wrap your fabric in plastic and let it sit for 24 to 48 hours at room temperature, allowing the colors to fully bond.
Wrap your fabric in plastic and let it rest 24 to 48 hours to fully set the dye colors.
Afterward, rinse the piece gently in cold water until the runoff runs clear, then air-dry it away from direct sunlight to avoid fading.
Taking these steps guarantees your oversized creation maintains its rich, sharp colors and stays in great condition.
Caring for and Displaying Your Tie-Dye Tapestries
Once your tie-dye tapestry is dry and set, you’ll want to care for it properly to keep its colors vibrant and fabric intact.
Handling your tapestry with care guarantees it remains a stunning piece in your space.
- Wash gently in cold water with mild detergent to prevent fading.
- Avoid bleach and harsh chemicals that can damage dyes and fibers.
- Air dry flat or hang away from direct sunlight to maintain color richness.
- Display your tapestry using a rod, clips, or framing to avoid creases and keep it smooth.
Troubleshooting Common Issues in Large-Scale Tie-Dye
When working on large-scale tie-dye projects, you’ll likely encounter unique challenges that don’t appear in smaller pieces. Uneven dye absorption can be a major issue—make certain to saturate the fabric thoroughly but not excessively, as puddles cause blotches.
Wrinkles or folds might shift during dyeing, so secure your fabric tightly with rubber bands or string to maintain patterns. Color bleeding can also be more pronounced; try applying dyes carefully and use resist techniques to keep colors separate.
If you notice faded colors, check your dye concentration and soak time. Finally, drying large tapestries evenly prevents unwanted streaks—hang them flat or use a drying rack. Addressing these problems early guarantees your big projects look vibrant and professional.
Inspiring Project Ideas to Take Your Tie-Dye Further
Mastering the challenges of large-scale tie-dye opens up exciting opportunities to experiment with new designs and techniques.
To take your tie-dye creativity further, consider these inspiring project ideas:
- Create Custom Home Decor – Design vibrant pillowcases, curtains, or tablecloths to brighten your living space.
- Make Statement Apparel – Craft oversized hoodies or scarves featuring bold patterns for a unique wardrobe.
- Design Wall Tapestries – Use large fabric pieces to make eye-catching tapestries that showcase your tie-dye mastery.
- Host a Tie-Dye Workshop – Share your skills with friends or community groups, exploring collaborative projects and new styles.
Frequently Asked Questions
How Do I Choose the Best Dye Brand for Large-Scale Projects?
You should pick a dye brand that offers vibrant colors, consistency, and large quantity options. Look for non-toxic, colorfast dyes with good customer reviews, and consider your fabric type to guarantee the best results for big projects.
Can I Use Natural Dyes Instead of Synthetic Ones for Tapestries?
Imagine cooking with garden herbs instead of store-bought spices—that’s using natural dyes. You can definitely use them for tapestries, but they often need mordants and patience since their colors fade faster than synthetic options.
What Safety Precautions Should I Take When Working With Large Amounts of Dye?
You should wear gloves, a mask, and protective clothing to avoid skin and respiratory irritation. Work in a well-ventilated area, keep dye away from food, and clean spills immediately to stay safe around large dye amounts.
How Long Does the Dye Typically Take to Fully Set on Big Fabrics?
Imagine waiting anxiously as your massive tapestry absorbs vibrant colors. Typically, dye takes 24 to 48 hours to fully set on big fabrics. You’ll want to keep it wrapped and moist during this essential time for best results.
Are There Eco-Friendly Methods for Disposing of Leftover Dye Solutions?
You can dispose of leftover dye solutions eco-friendly by diluting them with lots of water and pouring them down a drain connected to a wastewater treatment system. Alternatively, reuse or compost natural dyes to minimize waste.