
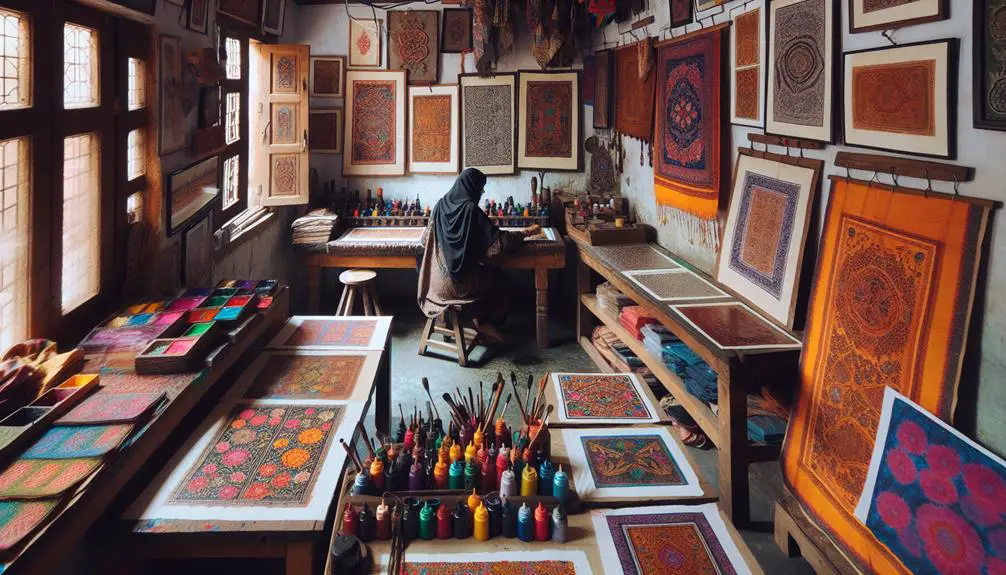
It's funny you're looking into custom fabric prints right now because I just came across some intriguing techniques myself. Creating your own designs at home isn't as complicated as it seems; it just requires the right approach and tools. You'll need to start with the basics, like choosing high-quality, pre-washed cotton fabric and gathering essential materials such as fabric inks and brushes. From there, the magic happens in the design phase, where balance and repetition play essential roles. Ready to explore how you can transform plain fabric into unique, personalized art that showcases your creativity?
Key Takeaways
- Choose high-quality, pre-washed cotton fabric and ensure it's defect-free for the best results.
- Use fabric inks, textile paints, and appropriate tools like brushes, rollers, and stencils for precise patterns.
- Sketch and refine designs for balance and repetition, using inspiration and a chosen color palette.
- Employ fabric stamping techniques such as block printing, hand painting, tie dye, or batik for unique patterns.
- Set designs with heat using an iron and protective layer to ensure durability and longevity.
Choosing the Right Fabric
Selecting the perfect fabric is vital in achieving the best results for your custom prints. You'll need to take into account factors such as fabric type, weight, and weave to avoid printing mistakes.
Cotton, silk, and polyester all have distinct characteristics that can either enhance or detract from your final product. For instance, cotton absorbs ink well and delivers vibrant colors, making it a popular choice. However, if you're aiming for a sleek finish, silk might be your preferred option, despite it being more challenging to work with.
When it comes to color choices, the fabric's base color plays an important role. A white or light-colored fabric ensures your designs stand out vividly, while darker fabrics may require additional steps, like applying a white base layer, to achieve the same effect.
Pattern alignment is another crucial aspect of fabric selection. Make sure that the fabric has a consistent weave and is free of defects. This helps in maintaining the integrity of your design, especially if you're working with intricate patterns. Misalignment can ruin what could've been a flawless print, so always inspect your fabric meticulously before starting your project.
Essential Tools and Materials
To get started with custom fabric printing, you'll need a few essential tools and materials to ensure professional results.
First, choose high-quality, 100% cotton fabric as it holds prints well and is ideal for various DIY projects. Pre-wash and iron your fabric to eliminate any sizing or wrinkles that might interfere with your design.
Next, invest in fabric inks or textile paints. These are specially formulated to adhere to fabric and endure washing. You'll also need a set of brushes or rollers, depending on your chosen printing techniques. For precision in your designs, consider getting fabric markers for detailed work.
To transfer your designs, you'll need stencils or a silk screen. Stencils are great for simple patterns, while silk screens offer versatility for more intricate designs. A sturdy work surface, like a covered table, is vital to support your fabric crafting endeavors.
Don't forget protective gear—gloves and an apron will shield you from spills. Finally, a heat-setting tool like an iron or heat press is necessary to set the ink, ensuring your design's longevity.
With these tools and materials, you're well on your way to mastering the art of custom fabric printing as part of your creative hobbies.
Designing Your Pattern
Crafting a unique pattern for your custom fabric print starts with a spark of creativity and a well-thought-out concept. Begin by brainstorming ideas that inspire you. Think about the themes, motifs, and styles that resonate with your personal aesthetic. Once you have a concept, focus on color selection. Colors play a pivotal role in how your pattern will be perceived, so choose a palette that complements your design and evokes the desired emotions.
Next, move on to pattern creation. Sketch your ideas on paper or use digital tools to refine your design. Aim for balance and harmony in your layout. Consider the scale and repetition of elements to secure your pattern is visually appealing on fabric.
Here's a handy table to guide your process:
| Step | Action |
|---|---|
| Inspiration | Gather ideas from nature, art, or your surroundings |
| Color Selection | Choose a harmonious color palette that fits your concept |
| Sketching | Draw your initial designs, either by hand or using digital software |
| Refinement | Tweak your sketches, confirming balance and repetition in your pattern |
Fabric Stamping Techniques
Now that you've crafted your unique pattern, it's time to explore fabric stamping techniques to bring your design to life.
One of the most revered methods is block printing, which involves carving your design into a block of wood or linoleum. Once your block is ready, dip it in fabric paint, and press it firmly onto the fabric. This technique allows for precise, repeatable patterns and works well with both intricate and bold designs.
Complement your block printing with hand painting for added detail. Use fabric paints and brushes to enhance or fill in areas that need more color or definition. This method provides a personal touch and can help you achieve a more dynamic look.
Another technique worth mastering is tie dye, known for its vibrant and unpredictable patterns. By binding sections of your fabric with strings or rubber bands before dyeing, you create unique, kaleidoscopic designs.
For something more intricate, try batik techniques. Applying hot wax to your fabric before dyeing creates stunning, resist-dye patterns. The wax blocks the dye, allowing you to build complex, multi-layered designs.
Stenciling Methods
Stenciling provides a straightforward method to transfer intricate designs onto fabric with precision and consistency. You'll find this approach particularly beneficial when you aim to replicate elaborate patterns or logos. Begin by selecting a durable stencil material, such as mylar or thick plastic, that can withstand repeated use.
First, secure your stencil onto the fabric using temporary adhesive spray or painter's tape to guarantee it doesn't shift. For spray painting, cover the areas outside the stencil to prevent overspray. Hold the spray paint can about 6-8 inches away from the fabric and apply thin, even coats. Multiple light layers are preferable to avoid bleeding and achieve a sharp design. Once you're content with the coverage, carefully lift the stencil to reveal your work.
Alternatively, you can utilize block printing techniques alongside stenciling. Apply fabric paint to a foam roller or sponge and press it over the stencil. This approach provides you with control over the paint application, enabling a more textured and layered effect.
Both spray painting and block printing techniques offer distinct benefits, making stenciling a versatile method for perfecting custom fabric prints. Experiment with different paints and pressures to discover your desired finish.
Basics of Screen Printing
Screen printing, a versatile and widely-used technique, allows you to create detailed and vibrant fabric prints with ease. If you're looking to master the art of DIY screenprinting, understanding the basics will set you on the right path.
Here's a step-by-step guide to help you get started:
- Create Your Design: Begin by sketching your homemade designs on paper or digitally. Make sure your design is bold and clear, as intricate details might get lost in the process.
- Prepare Your Screen: Coat a screen with a light-sensitive emulsion. Once dry, place your design on the screen and expose it to light. The emulsion hardens except where your design blocks the light, creating a stencil.
- Set Up Your Printing Area: Lay your fabric flat on a clean surface. Position the screen over the fabric, making sure it's aligned correctly. Secure the screen to prevent it from moving during printing.
- Print Your Design: Pour ink onto the screen and use a squeegee to spread it evenly across the stencil. Apply consistent pressure to make certain the ink passes through the screen and onto the fabric. Lift the screen carefully to reveal your print.
With these steps, you'll be well on your way to creating beautiful, custom fabric prints at home.
Digital Transfers
Digital transfers provide a quick and efficient way to apply intricate designs to fabric without the need for traditional screen printing techniques. If you're interested in DIY projects and enjoy creating unique, creative designs, digital transfers are your best companion. You can easily print your design on special transfer paper using a standard inkjet printer. Once printed, all you need is a hot iron to transfer the image onto your fabric.
Here's a quick guide to help you grasp the process:
| Step | Description |
|---|---|
| 1 | Create your artwork using graphic design software. |
| 2 | Print the design on transfer paper. |
| 3 | Trim the printed design, leaving a small border. |
| 4 | Position the design face down on the fabric and iron it. |
Digital transfers are ideal for small-scale projects or when you require a custom print promptly. The quality of your final product will rely on the type of transfer paper you use and the fabric's compatibility. Employing high-quality transfer paper guarantees that your creative designs emerge vibrant and long-lasting.
Embrace this contemporary technique and enhance your DIY projects with striking, professionally crafted fabric prints. You'll discover that mastering digital transfers unveils countless opportunities for customizing your textiles.
Setting and Caring for Prints
To maintain your custom fabric prints looking vibrant, you need to properly set the colors with heat.
Follow this by carefully washing and maintaining the fabric according to specific guidelines.
This guarantees your prints stay fresh and last longer.
Proper Heat Setting
Maintaining your custom fabric prints to remain vibrant and durable starts with proper heat setting. Whether you've used a heat press or fabric painting techniques, sealing the design into the fabric is essential. Here's how you can master this important step:
- Preheat Your Iron or Heat Press: Set your iron to the appropriate temperature for the fabric type. For most fabrics, a medium-high setting works well. If you're using a heat press, follow the manufacturer's instructions for the exact temperature and timing.
- Use a Protective Layer: Place a piece of parchment paper or a pressing cloth between the iron/heat press and the fabric. This prevents potential scorching and guarantees even heat distribution.
- Press Firmly and Evenly: Apply firm, even pressure across the entire print area. For an iron, hold it in place for 20-30 seconds, moving it slightly to cover the entire design. With a heat press, simply engage the press for the specified duration.
- Cool Down Period: Allow the fabric to cool completely before handling it. This cooling period helps set the ink or paint fully, enhancing the longevity of your print.
Washing and Maintenance
Proper washing and maintenance are vital to keeping your custom fabric prints looking vibrant and lasting longer. Start by selecting a gentle, phosphate-free detergent to preserve the colors. Use cold water to wash your prints, as hot water can cause fading. Turn the fabric inside out to minimize abrasion.
When it comes to drying techniques, air drying is your best option. Lay the fabric flat on a clean, dry towel rather than using a tumble dryer, which can be harsh on custom prints.
For storage, keep your fabrics in a cool, dry place away from direct sunlight to prevent color degradation. Folding them neatly ensures they don't develop creases that are hard to remove later.
Accidents happen, so knowing proper spot cleaning and stain removal methods is essential. Blot stains immediately using a clean cloth and cold water. Avoid rubbing, as it can push the stain deeper into the fibers. For tougher stains, use a mild stain remover, but always test it on a small, inconspicuous area first.
Frequently Asked Questions
How Can I Fix Mistakes on My Fabric Print?
To fix mistakes on your fabric print, use error correction techniques like troubleshooting ink blending issues or color mixing mishaps. Carefully assess the problem, then apply appropriate methods to guarantee a seamless and professional finish.
What Are Common Mistakes to Avoid When Printing Fabric at Home?
Avoid biting off more than you can chew by ensuring proper fabric preparation. Troubleshooting mistakes often stems from poor color mixing and neglecting reusable materials. Master these basics, and you'll sidestep common pitfalls in fabric printing at home.
How Do I Achieve Multiple Colors in One Print?
To achieve multiple colors in one print, use color blending and gradient techniques. Layer your colors carefully and blend them seamlessly. Experiment with overlapping colors for depth and practice gradient techniques for smooth shifts.
Can I Use Natural Dyes for Custom Fabric Prints?
Immerse yourself in a world of color by using natural dye sources like beetroot and turmeric. These eco-friendly options not only create vibrant prints but also tread lightly on the planet. Embrace the artistry!
How Do I Prevent Fabric Shrinkage After Printing?
To prevent fabric shrinkage after printing, start with pre-treatment techniques. Shrinkage prevention requires fabric testing before printing and diligent post-print care. Always wash and dry your fabric in advance to maintain its dimensions.