
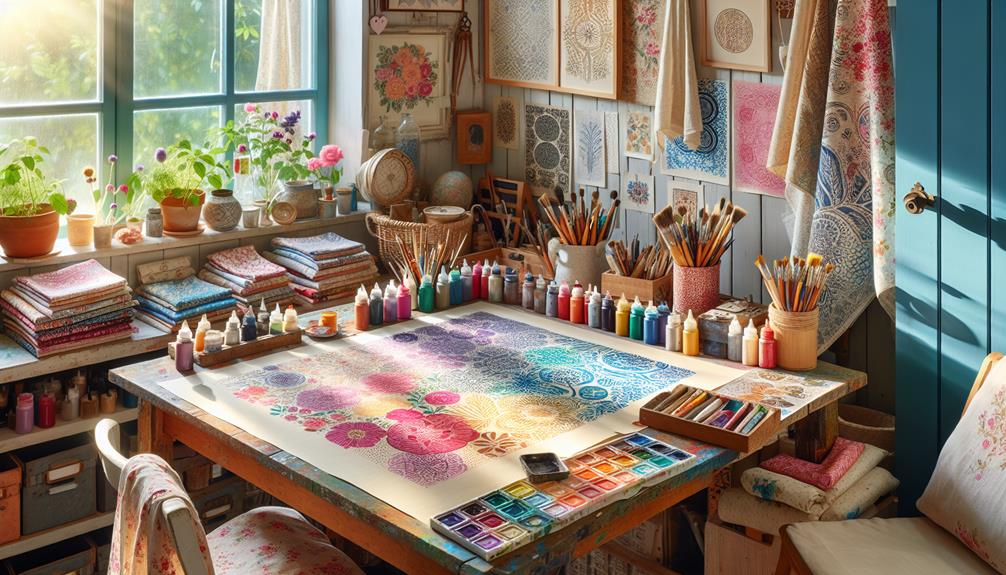
You might think creating custom fabric prints at home is too complex, but with the right tools and materials, it's surprisingly manageable. By using fabric paints, brushes, stamps, and stencils, you can transform plain textiles into personalized pieces of art. The key is to start with pre-washed and ironed fabrics and understand the best techniques for your chosen design. From exploring digital printing to mastering ink setting, each step is essential for achieving high-quality results. Curious about how to infuse your creativity into DIY projects, unique gifts, or home decor? Let's break down the process.
Key Takeaways
- Pre-wash and iron fabric to ensure smooth surfaces and better dye absorption.
- Use fabric paints, brushes, stamps, or stencils for a hands-on approach to creating designs.
- Experiment with digital printing for intricate patterns and vibrant colors.
- Properly set inks with a dry iron or heat press to ensure durability and longevity.
- Explore inspiration from nature, architecture, and everyday objects for unique design ideas.
Essential Tools and Materials
To start creating custom fabric prints at home, you'll need a few essential tools and materials to get going.
First, gather your printing supplies: fabric paints or dyes, brushes, and stamps or stencils. High-quality fabric paints guarantee vibrant, long-lasting prints. Stamps and stencils offer design precision, letting you replicate patterns seamlessly.
Before diving into the creative process, focus on fabric preparation. Pre-wash your fabric to remove any sizing or chemicals that could affect the adherence of your print. This step is vital for guaranteeing your design bonds well with the fabric fibers.
After washing, iron the fabric to create a smooth, wrinkle-free surface, which is essential for precision in your prints.
Next, consider fabric care. Pre-treated fabrics react better to dyes and paints, and a well-ironed fabric guarantees your designs come out crisp and professional. Properly prepared fabric not only looks better but also lasts longer, maintaining the integrity of your custom prints.
For design inspiration, look around you. Nature, architecture, and even everyday objects can spark creative ideas. Sketch your designs on paper first to visualize them before applying them to your fabric. This preparation guarantees your final product meets your high standards.
Choosing Your Fabric
Selecting the right fabric is essential for ensuring your custom prints turn out beautifully and last for years. Start by understanding the various fabric types available.
Cotton is a popular choice due to its absorbency and smooth finish, making it ideal for intricate designs.
Linen offers a luxurious texture but requires careful handling.
Polyester blends, while less absorbent, are excellent for vibrant colors and durability.
Consider your printing options as well. If you're using screen printing, opt for fabrics with a tight weave, like cotton or polyester blends, to achieve sharp, precise lines.
For digital printing, fabrics like silk or satin provide a high-quality finish with vivid colors.
Heat transfer printing works well with synthetic fabrics, ensuring the design adheres firmly.
Don't overlook the fabric weight. Light fabrics are great for scarves and blouses but may not hold up well for upholstery projects.
Heavy fabrics like canvas or denim are perfect for bags and home decor but can be challenging to print on due to their thickness.
Designing Your Print
Now that you've chosen your fabric, it's time to design your print.
Start by selecting the right design tools that suit your style, whether it's graphic software or traditional sketching.
Next, focus on choosing colors and patterns that complement your project and bring your vision to life.
Choosing Design Tools
When designing your print, you'll frequently find that the right design tools can make or break your project. Mastery begins with selecting the best design software, which offers unparalleled flexibility and precision. Tools like Adobe Illustrator or CorelDRAW allow you to create intricate patterns and manipulate them effortlessly. Don't overlook online resources either; platforms like Canva or Design Bundles offer templates and inspiration to kickstart your creativity.
For those who prefer a more tactile approach, hand drawing is a timeless technique that brings a unique, personal touch to your fabric prints. Start with sketching your design on paper, then refine it to perfection. Once satisfied, you can digitize your hand-drawn art using a scanner and import it into your chosen design software for further adjustments. This hybrid approach marries the best of both worlds.
Stencil techniques are another powerful tool in your arsenal. Create stencils from your designs using materials like acetate or specialized stencil paper. This method allows for consistent replication of complex patterns across your fabric, ensuring high-quality results every time.
Whether you go digital or stay hands-on, choosing the right tools is essential for achieving professional-grade custom fabric prints.
Color and Pattern Selection
Choosing the right colors and patterns for your fabric print can transform a simple design into an enchanting masterpiece. Start by delving into color theory to understand how different hues interact. Complementary colors create contrast, while analogous colors bring harmony. Use a color wheel to visualize relationships and make informed choices.
Pattern inspiration can come from various sources—nature, architecture, or even historical textiles. Sketch your ideas and experiment with scale and repetition. A small motif can look drastically different when repeated across a larger surface.
To assist you, here's a quick reference table:
| Element | Tips for Selection |
|---|---|
| Color Palette | Use color theory to guide choices. |
| Pattern Source | Draw inspiration from diverse sources. |
| Scale | Experiment with different sizes. |
| Repetition | Test how patterns look when repeated. |
| Contrast | Balance light and dark elements. |
Printing Techniques
You can bring your designs to life using various printing techniques.
Block printing methods offer a hands-on approach, while digital fabric printing allows for intricate and precise patterns.
Let's explore how each technique can make your custom fabric prints stand out.
Block Printing Methods
Block printing is a traditional method for creating custom fabric designs by carving patterns into a block and using it to stamp ink onto fabric. Mastering this craft starts with stamp carving. Choose a design, transfer it onto a linoleum or rubber block, and carefully carve away the non-design areas using gouges. Precision here is essential for clean prints.
Next, let's discuss ink mixing. Select fabric inks that suit your chosen materials. Mix colors to achieve your desired palette, maintaining consistency for multiple prints. Proper ink uniformity is vital for even application and sharp details.
Fabric preparation is your next step. Pre-wash the fabric to remove any sizing or impurities. Iron it flat to ensure a smooth printing surface. Secure the fabric on a flat worktable using tape or pins to prevent movement during the printing process.
In the printing process, apply a thin layer of ink onto your carved block using a brayer. Press the inked block firmly onto the fabric in your desired pattern. Lift carefully to avoid smudging. Repeat as needed, maintaining even pressure and alignment for a professional finish.
With practice, you'll achieve intricate, custom designs that rival professionally printed fabrics.
Digital Fabric Printing
Digital textile printing, a modern method, enables you to create intricate designs directly from your computer onto fabric with remarkable precision and ease. This technique transforms your DIY project into a professional-grade endeavor, enabling limitless textile customization.
To get started, you'll need a digital printer capable of handling fabric. Many high-quality inkjet printers work well for this purpose. First, prepare your design using graphic design software. Make sure your fabric is appropriately treated to accept the ink, often requiring a pre-treatment solution.
Here's a simplified table to guide you through the essentials:
| Step | Action |
|---|---|
| 1 | Design your pattern on graphic software |
| 2 | Pre-treat your fabric to accept ink |
| 3 | Print the design directly onto the fabric |
Once your fabric is printed, heat-setting guarantees the ink's durability, often done with a heat press or an iron. This method offers unparalleled flexibility, allowing you to experiment with vibrant colors, gradients, and highly detailed images.
Digital fabric printing opens a world of possibilities for textile customization. Whether you're crafting unique clothing, home décor, or accessories, this technique elevates your DIY project to new heights. By mastering digital fabric printing, you harness the power to bring your creative visions to life with exceptional quality and detail.
Setting the Ink
To guarantee your custom fabric prints are durable and long-lasting, set the ink properly using heat or steam. Mastering the ink curing process assures that your designs won't fade or wash out. Begin by allowing sufficient drying time, usually 24 hours, before moving on to heat setting techniques. If the ink hasn't dried completely, the curing process will be ineffective, leading to potential troubleshooting later.
For heat setting, use a dry iron on the highest temperature suitable for your fabric. Place a pressing cloth between the iron and the print to avoid scorching. Press firmly for 3-5 minutes, moving the iron constantly to distribute heat evenly. Alternatively, a heat press can offer more controlled and consistent results, typically requiring 30-60 seconds at 350°F.
If you prefer steam setting, use a garment steamer or steam iron. Hover the steamer about an inch above the fabric, ensuring the steam penetrates deeply for about 10-15 minutes. This method is ideal for delicate fabrics that might be damaged by direct heat.
Creative Project Ideas
Once you've mastered setting the ink, you can express your creativity with these exciting custom fabric print project ideas. First, consider upcycling projects. Transform old clothes or linens by adding unique prints, giving them a new lease on life. Turn a plain t-shirt into a statement piece or refresh a worn-out tote bag with a vibrant design.
For DIY gifts, custom fabric prints make thoughtful, personalized presents. Create hand-printed scarves, pillowcases, or even custom kitchen towels. Your friends and family will appreciate the effort and creativity behind these one-of-a-kind items.
Incorporating mixed media techniques can elevate your projects further. Combine your fabric prints with embroidery, beading, or appliqué to add texture and depth. These techniques can turn a simple fabric print into a stunning piece of art.
When it comes to home decor ideas, the possibilities are endless. Use your custom prints to create unique throw pillows, curtains, or table runners. You can even frame a beautifully printed fabric as wall art. These projects not only showcase your skills but also add a personal touch to your living space.
With these ideas, you'll take your custom fabric prints to the next level.
Frequently Asked Questions
How Do I Prevent My Fabric Print Colors From Fading Over Time?
To prevent your fabric print colors from fading, use color protection techniques like washing with cold water and avoiding harsh detergents. For better longevity, follow proper fabric printing care and preservation methods, like air drying and storing away from sunlight.
Can I Use Household Items as Stencils for Fabric Printing?
Think outside the box and use household items as stencils. Try fruit stamping for unique patterns or use leaf motifs for organic designs. You'll transform your fabric into a masterpiece with these creative techniques.
What Are the Best Practices for Washing Printed Fabrics?
For best fabric care and preservation, always wash printed fabrics in cold water. Use a gentle detergent to guarantee color retention and longevity. Avoid harsh chemicals and high heat, as they can damage your prints.
How Can I Fix Mistakes in My Fabric Print Design?
If your design has image alignment issues, you can use color correction techniques to blend colors seamlessly. For example, adjusting hues in Photoshop can fix discrepancies, making your fabric print look professionally aligned and error-free.
Are There Any Eco-Friendly Ink Options for Fabric Printing?
Yes, there are eco-friendly ink options for fabric printing. You can use sustainable alternatives like water-based inks and non-toxic pigments. These options guarantee your prints are vibrant while minimizing environmental impact and health risks.